
Most vial losses aren't mysterious. Vials crack when they knock together, get lost at the back of a shelf, sit in the light, or get confused with a look-alike. Every one of those problems is preventable with the right habits and the right case.
The ten tips below are about the physical side of storage: protection, organization, labeling and planning. For temperature, the answer is always the same, and it comes first.
Design a case with a pocket for every vial
Pick the vials and supplies you keep and how many, and the builder lays out a compact hard case that fits them exactly.
Tip 1: Follow the Label for Temperature, Every Time
Follow the storage instructions on your product label or from your pharmacist or provider. Different products, and the same product unopened versus in use, can carry different directions, so read each label instead of applying one rule to everything.
Know what your gear does. A hard vial case is a protective organizer, not a cooler. It doesn't keep anything cold, but it sits inside a fridge or a cooler wherever the label says your vials belong. Our freezer storage guide covers how to organize vials whose labels call for the freezer.
Tip 2: Give Every Vial a Fixed Pocket
Physical separation is the simplest organizing tool there is. When each vial has its own pocket, it can't knock against its neighbors, and it's always in the same place. You stop searching, and an empty pocket tells you at a glance that something is missing or running low.
A case with individual pockets also keeps different products apart, which makes it much harder to grab the wrong vial in a hurry. See our guide to organizing several vials for a full system.
Tip 3: Keep Vials Upright in a Hard-Shell Case
Glass vials lying loose in a fridge door roll, tip and chip. A hard-shell case with fitted pockets holds each vial standing up, protects it from bumps and drops, and keeps the stopper end up. Soft pouches and zip bags don't stop glass from hitting glass.
For a comparison of case styles, see the top 10 peptide storage cases.
Tip 4: Label Every Vial the Day It Arrives
Label before the vial goes anywhere. At minimum, write:
- What the vial holds, spelled out, not abbreviated to one letter.
- The date you received it, and the date you opened it when you do.
- The expiration date from the original label, if the original label might get covered.
Keep the pharmacy or product label readable. A vial that looks like every other vial in the fridge is a liability early in the morning or after a week away. Our guide to labeling vials has materials that survive condensation.
Tip 5: Color-Code Look-Alike Vials
Two clear vials of the same size are easy to confuse even when both are labeled. A color code adds a second check: one color per product, on the cap where you see it from above. Colored dots work; color-coded caps work even better because the color is the first thing you see when you open the case.
Color-code your vials
Custom snap-on caps for 3 mL or 10 mL vials, with a cap color plus an icon or letters. Sets from 25 caps.
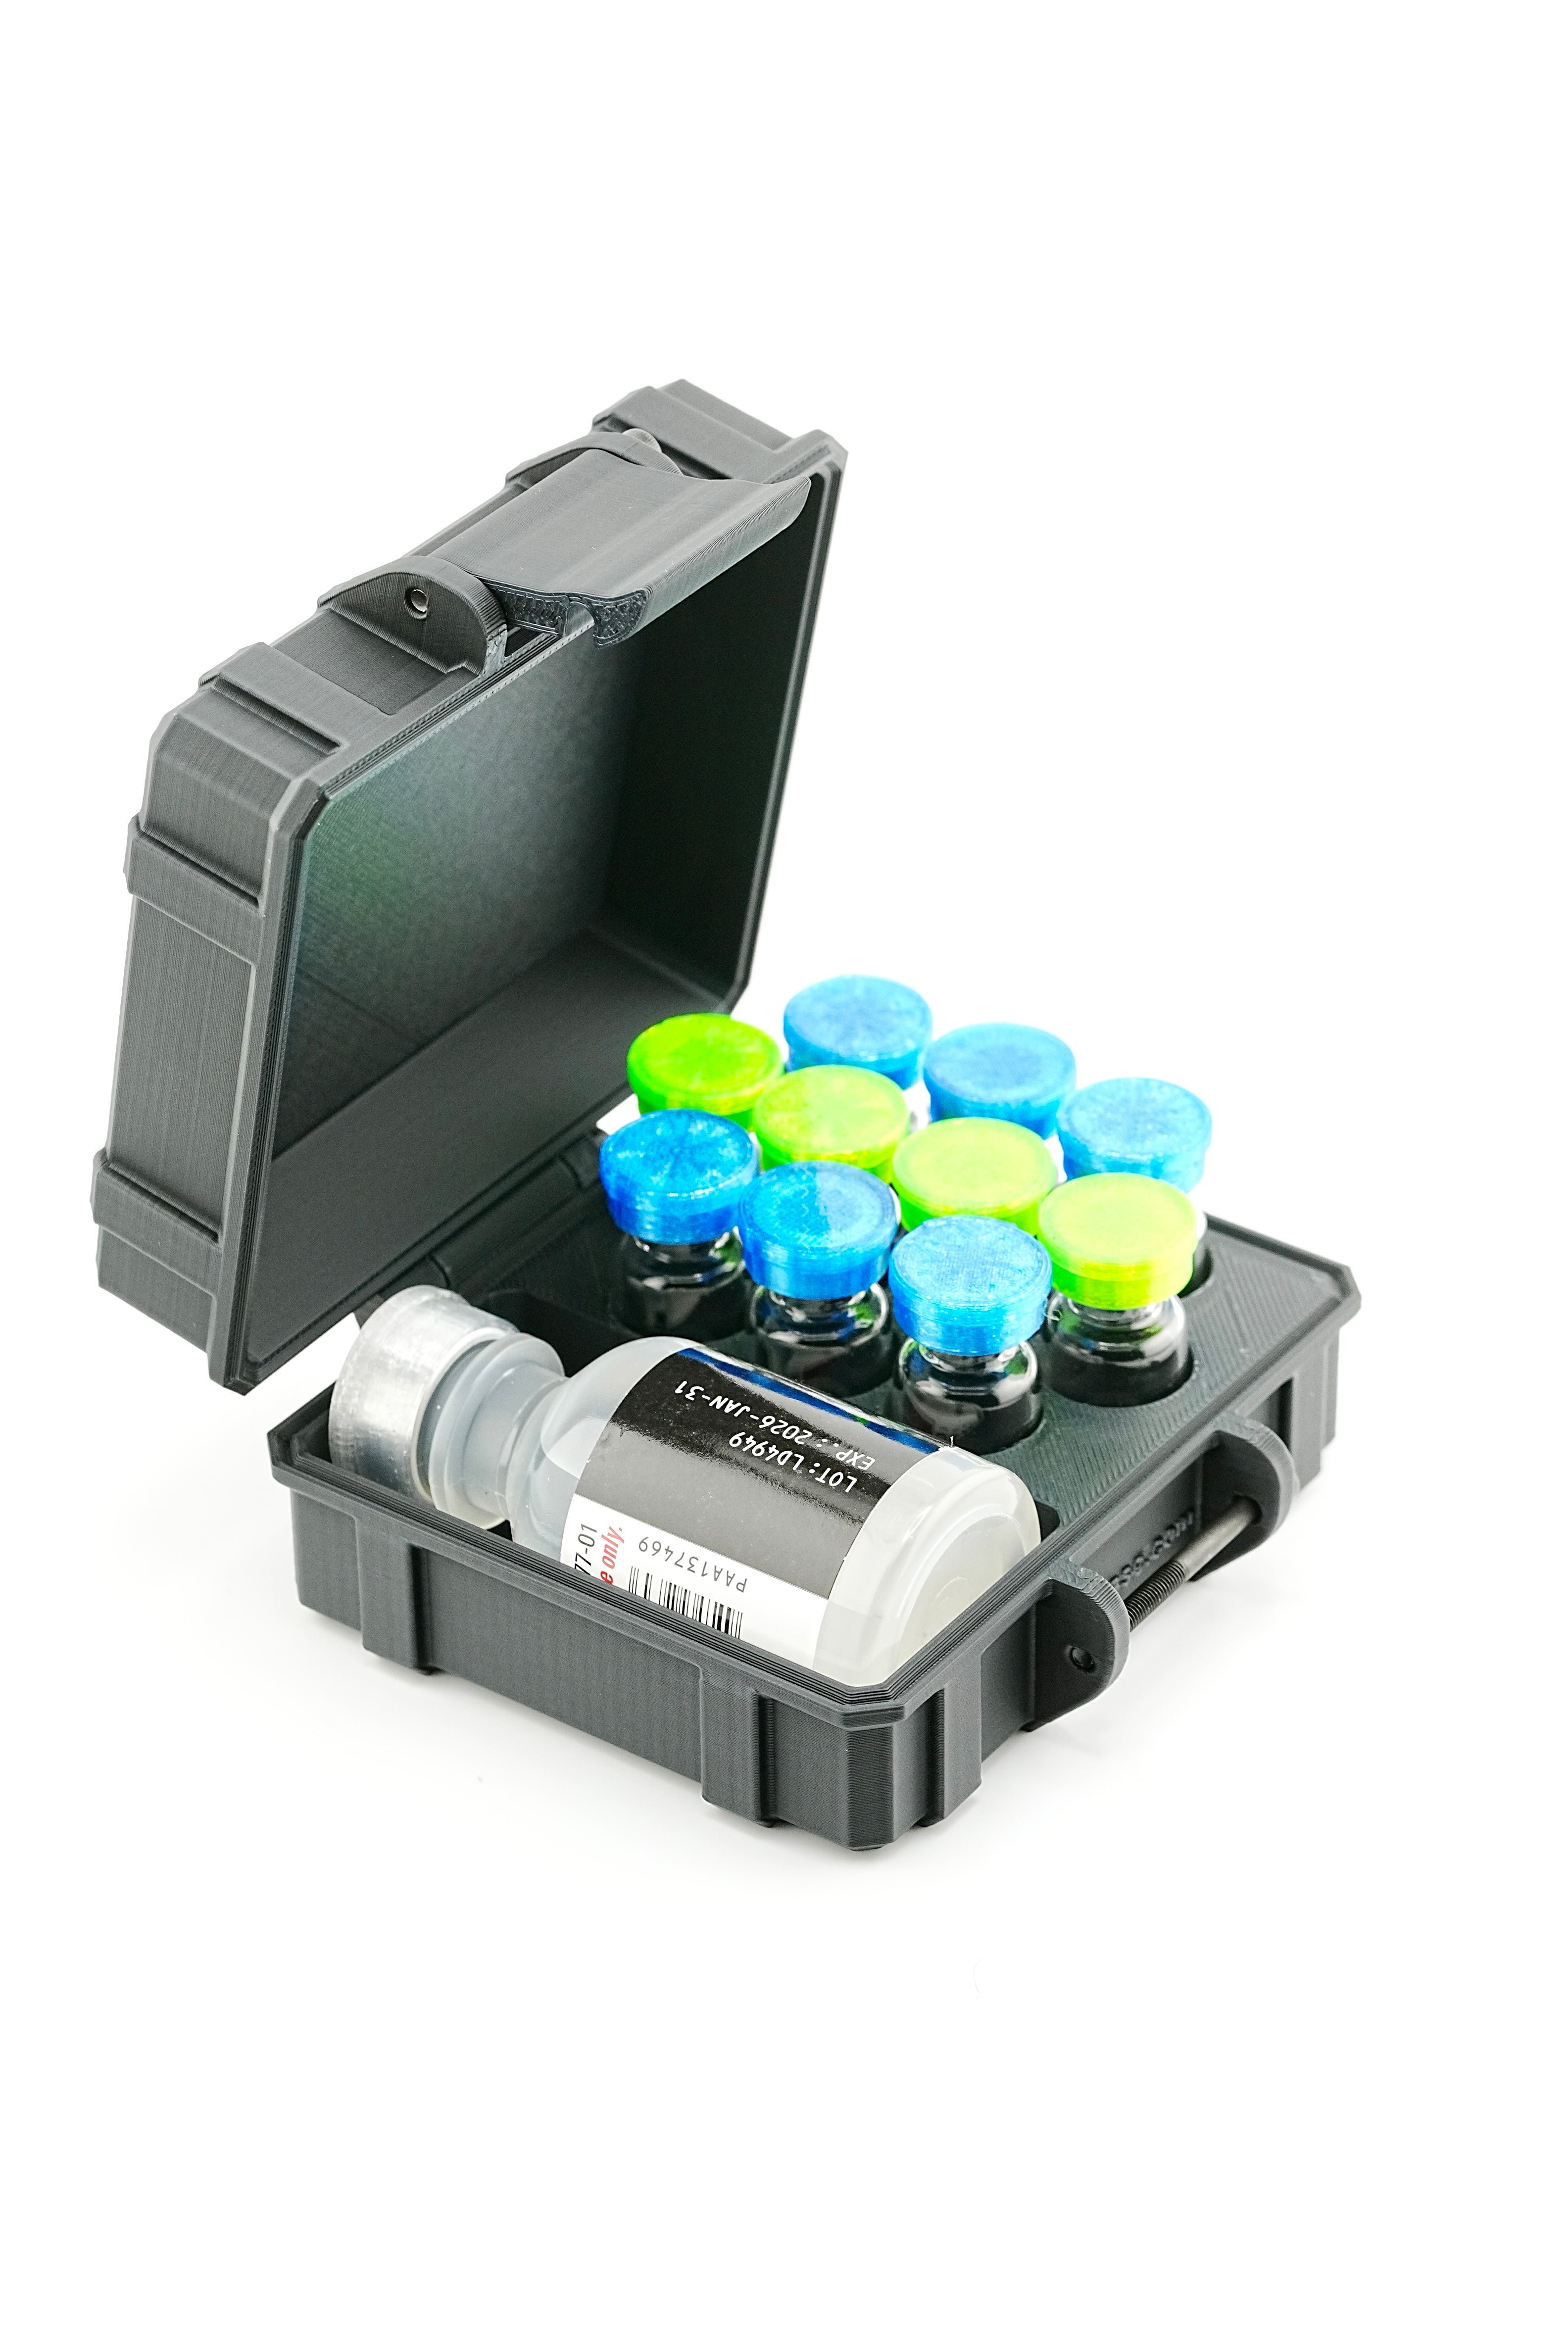
Tip 6: Store the Case on an Interior Shelf, Not the Door
The fridge door is the worst spot for vials. It's the most jostled place in the fridge and the one most exposed to room air every time the door opens. Put your case on an interior shelf toward the back, away from food, where nobody has to move it to reach the milk. A dedicated spot also means the case never gets buried. See our fridge organization guide.
Tip 7: Keep Light-Sensitive Products Covered
If a label says "protect from light," keep the vial in its carton or in a closed, opaque case so it isn't lit up every time the fridge opens or left on a sunny counter. Amber glass helps, but a closed case or carton adds another layer. Our guide to amber vs clear vials explains the difference.
Tip 8: Separate In-Use Vials from Backup Stock
When open vials and unopened backups share the same loose space, sooner or later one gets mistaken for the other. Give each group its own case or its own clearly marked row, stored wherever each label directs. When you open a new vial, move it from the backup group to the in-use group and label it right away.
Tip 9: Keep a Simple Inventory Log
A short log is the paperwork side of good storage. List each product, how many vials you have, the date each arrived, and its expiration date. Update it when you open or finish a vial. A notebook near your storage spot works; a spreadsheet works better once you keep several products.
The log tells you what to reorder before you run out, which vials to use first (oldest expiration date first), and exactly what you're carrying when you pack for a trip.
Tip 10: Have a Power Outage Plan
A power outage is rare, but you want the plan made before it happens:
- Keep the fridge door closed. Every opening lets cold air out. Resist the urge to check.
- Keep a backup cold pack frozen. A frozen gel pack and a small cooler give you a place to move vials if the outage runs long. Wrap the pack so it doesn't touch the vials directly.
- Use a thermometer with an alarm so you know how warm the fridge actually got and for how long.
- Ask before using anything affected. Check the product label, or ask your pharmacist or provider, about any vial that warmed up during an outage. Our power outage guide covers the full plan.
Quick Reference Card: All 10 Tips at a Glance
Keep this list with your storage setup. For more depth, see the complete peptide storage guide and the peptide travel checklist.
- 1. Follow the label: temperature comes from your product label, pharmacist or provider. A case is an organizer, not a cooler.
- 2. Fixed pockets: one vial, one pocket, same place every time.
- 3. Hard case, upright: no loose glass, no rolling, no chips.
- 4. Label on arrival: what it holds, date received or opened, expiration date.
- 5. Color-code: a cap color per product for a glance check.
- 6. Interior shelf: never the door, away from food.
- 7. Cover it: closed case or carton for anything labeled "protect from light."
- 8. Separate stock: in-use vials and backups in different cases or rows.
- 9. Inventory log: what you have, when it arrived, when it expires.
- 10. Outage plan: door closed, frozen cold pack, thermometer, ask before using.
Design your own custom case for better vial storage
Tips 2, 3 and 8 all come down to the case, and most ready-made cases only come in fixed slot counts. The PeptideCase™ builder lets you design one around what you actually keep. Start with an empty case, tap "Add item," and pick 3 mL vials, 10 mL vials, peptide vials, other size vials, syringes, alcohol pads, a BAC water bottle, pens or pen cartridges, plus how many of each. Each item becomes fitted pockets or an open bay sized for that count, and Auto-arrange packs everything into the most compact layout.
The tallest item sets the case height; shorter vials stand on a raised floor so every vial top lines up at the rim, easy to grab, and every space has a finger scoop. Pick Black or RGB Metallic and one or two locking latches, add text or an icon to the lid if you like, and check the top, lid and 3D views before it's printed to order in the US. Build a case that fits your vials