
Unlabeled vials look identical. Two 3 mL vials of clear liquid with gray stoppers are indistinguishable at a glance, and the right labeling system takes the guesswork out of every fridge visit.
Here is what every label needs, which materials actually stay stuck in the fridge, how to color-code a kit, and how to turn the pockets of your case into a memory system that runs itself.
Design a case with a pocket for every labeled vial
Add your vials and supplies, see where each pocket sits in the top view, and put your name or an icon on the lid.
Why Labeling Actually Matters
It seems obvious until you are standing in front of the fridge at 6 a.m. with two unlabeled vials that both hold clear liquid. Grabbing the wrong one ranges from a wasted vial to a genuinely wrong one in your hand.
The more vials you keep, the higher the stakes. One vial? You can get away with sloppy labeling. Four different vials at once? One unlabeled vial is a liability. And it isn't only about telling vials apart: knowing when you opened a vial matters just as much. A vial opened weeks ago looks exactly like one opened yesterday, and only the label tells you whether it has reached the discard date its label or your pharmacist gave you.
Labeling also cuts mental overhead. A well-labeled, organized case means zero effort in the moment: no squinting, no second-guessing, no opening your notes app to check which vial is which. The routine becomes automatic.
What Every Vial Label Needs
A complete label holds five pieces of information. Don't skip any of them:
- Name. Write the full name, not an abbreviation you might forget. If you keep two similar products, spell out the difference.
- Vial number. If you keep more than one vial of the same thing, number them: #1, #2, #3.
- Date opened. The day you first used the vial. Format: MM/DD/YY.
- Discard date. Copy it from the product label, or write down the date your pharmacist or provider gave you. Write it on the vial so you never have to work it out at 6 a.m.
- Whose it is. Initials are enough, and they matter in a shared household fridge.
Pro tip: Write the label before the vial goes into the case, not later. "I'll label it in a minute" is how unlabeled vials happen.
Label Materials That Survive the Refrigerator
Standard paper labels and regular tape fall off in the fridge. Condensation forms on cold glass whenever a vial comes out, and adhesive that wasn't made for cold, damp conditions simply lets go. Your label ends up on the fridge shelf instead of the vial.
These materials actually work:
- Freezer tape + permanent marker. Lab-grade freezer tape (3M 2693, for example) is made to stick in the cold and stay on through condensation. Write on it with a fine permanent marker before you apply it.
- Cryo-rated label tape. Brady, Dymo and similar brands make labels rated for fridge and freezer use. If you have a label printer, these give clean, legible text that lasts.
- Waterproof printer labels. Polyester labels rated for moisture work well at fridge temperature. Print a sheet for your current vials, cut and apply.
- The lazy minimum: a strip of blue painter's tape and a marker pressed firmly. Not ideal, but it holds well enough in a fridge. Replace it at the first sign of lifting.
Avoid: standard clear tape (lets go in the cold), plain paper labels (soak up moisture and fall off) and tiny adhesive dots (too small to write anything useful on).
Color-Coding by Vial Type
If you keep more than two kinds of vials, color-coding is the single fastest upgrade to your system. You identify the right vial before you even read the label. Here is a simple scheme by group:
- GLP-1 vials: blue tape or cap.
- TRT vials: green.
- Peptide vials: yellow, with a different shade or mark for each one if you keep several.
- Anything else you keep long-term: purple.
- BAC water and other supplies: white or no color, so supplies never look like one of your active vials.
Color-coding doesn't need a label printer. A strip of colored washi tape around the cap, a dot of colored marker on the label, or a set of custom colored caps with a letter or icon on top creates an instant visual system.
Color-code your vials
Custom snap-on caps for 3 mL or 10 mL vials, with a cap color plus an icon or letters. Sets from 25 caps.
Numbering Vials in a Multi-Vial Kit
Some kits include several vials of the same thing, for example three identical vials bought together. Number them in sequence: #1, #2, #3. Use them in order, open only one at a time, and keep the sealed ones together in their own row of the case, stored the way their label says.
This matters because an opened vial has a discard date that a sealed one hasn't started yet. Opening all three at once means you are racing three discard dates instead of one. Numbered vials, opened one after another, keep every date meaningful.
Tracking Opened Dates With a Log
For a multi-vial kit, a simple log (three lines in your phone's notes app or a small notebook) adds a backup to your vial labels. Labels can fall off. Ink can smear. A log is your redundant record.
Each entry only needs:
- Vial name + number
- Date opened
- Discard date (from the label or your pharmacist)
- Notes (for example, "moved to travel case")
It takes 30 seconds per vial and saves you from a label that just says "April" with no year, or a smudged date you can no longer read.
Pro tip: Set a phone reminder for each vial's discard date. When it goes off, the vial is either already empty or it is time to throw out what is left. No mental tracking required.
Using Your Case's Pockets as a Positional Memory System
Here is the upgrade that turns a storage case into a real organizing system: give every pocket a permanent job. Pocket 1 is always your GLP-1 vial. Pocket 2 is always the TRT vial. Pocket 3 is always the first peptide vial. The bay at the end is always the BAC water bottle.
This works because position is faster than reading. After a week, you reach for pocket 1 without looking, and the label becomes your confirmation instead of your search tool. When a vial runs out and a new one takes over, it goes back into the same pocket. The system reinforces itself.
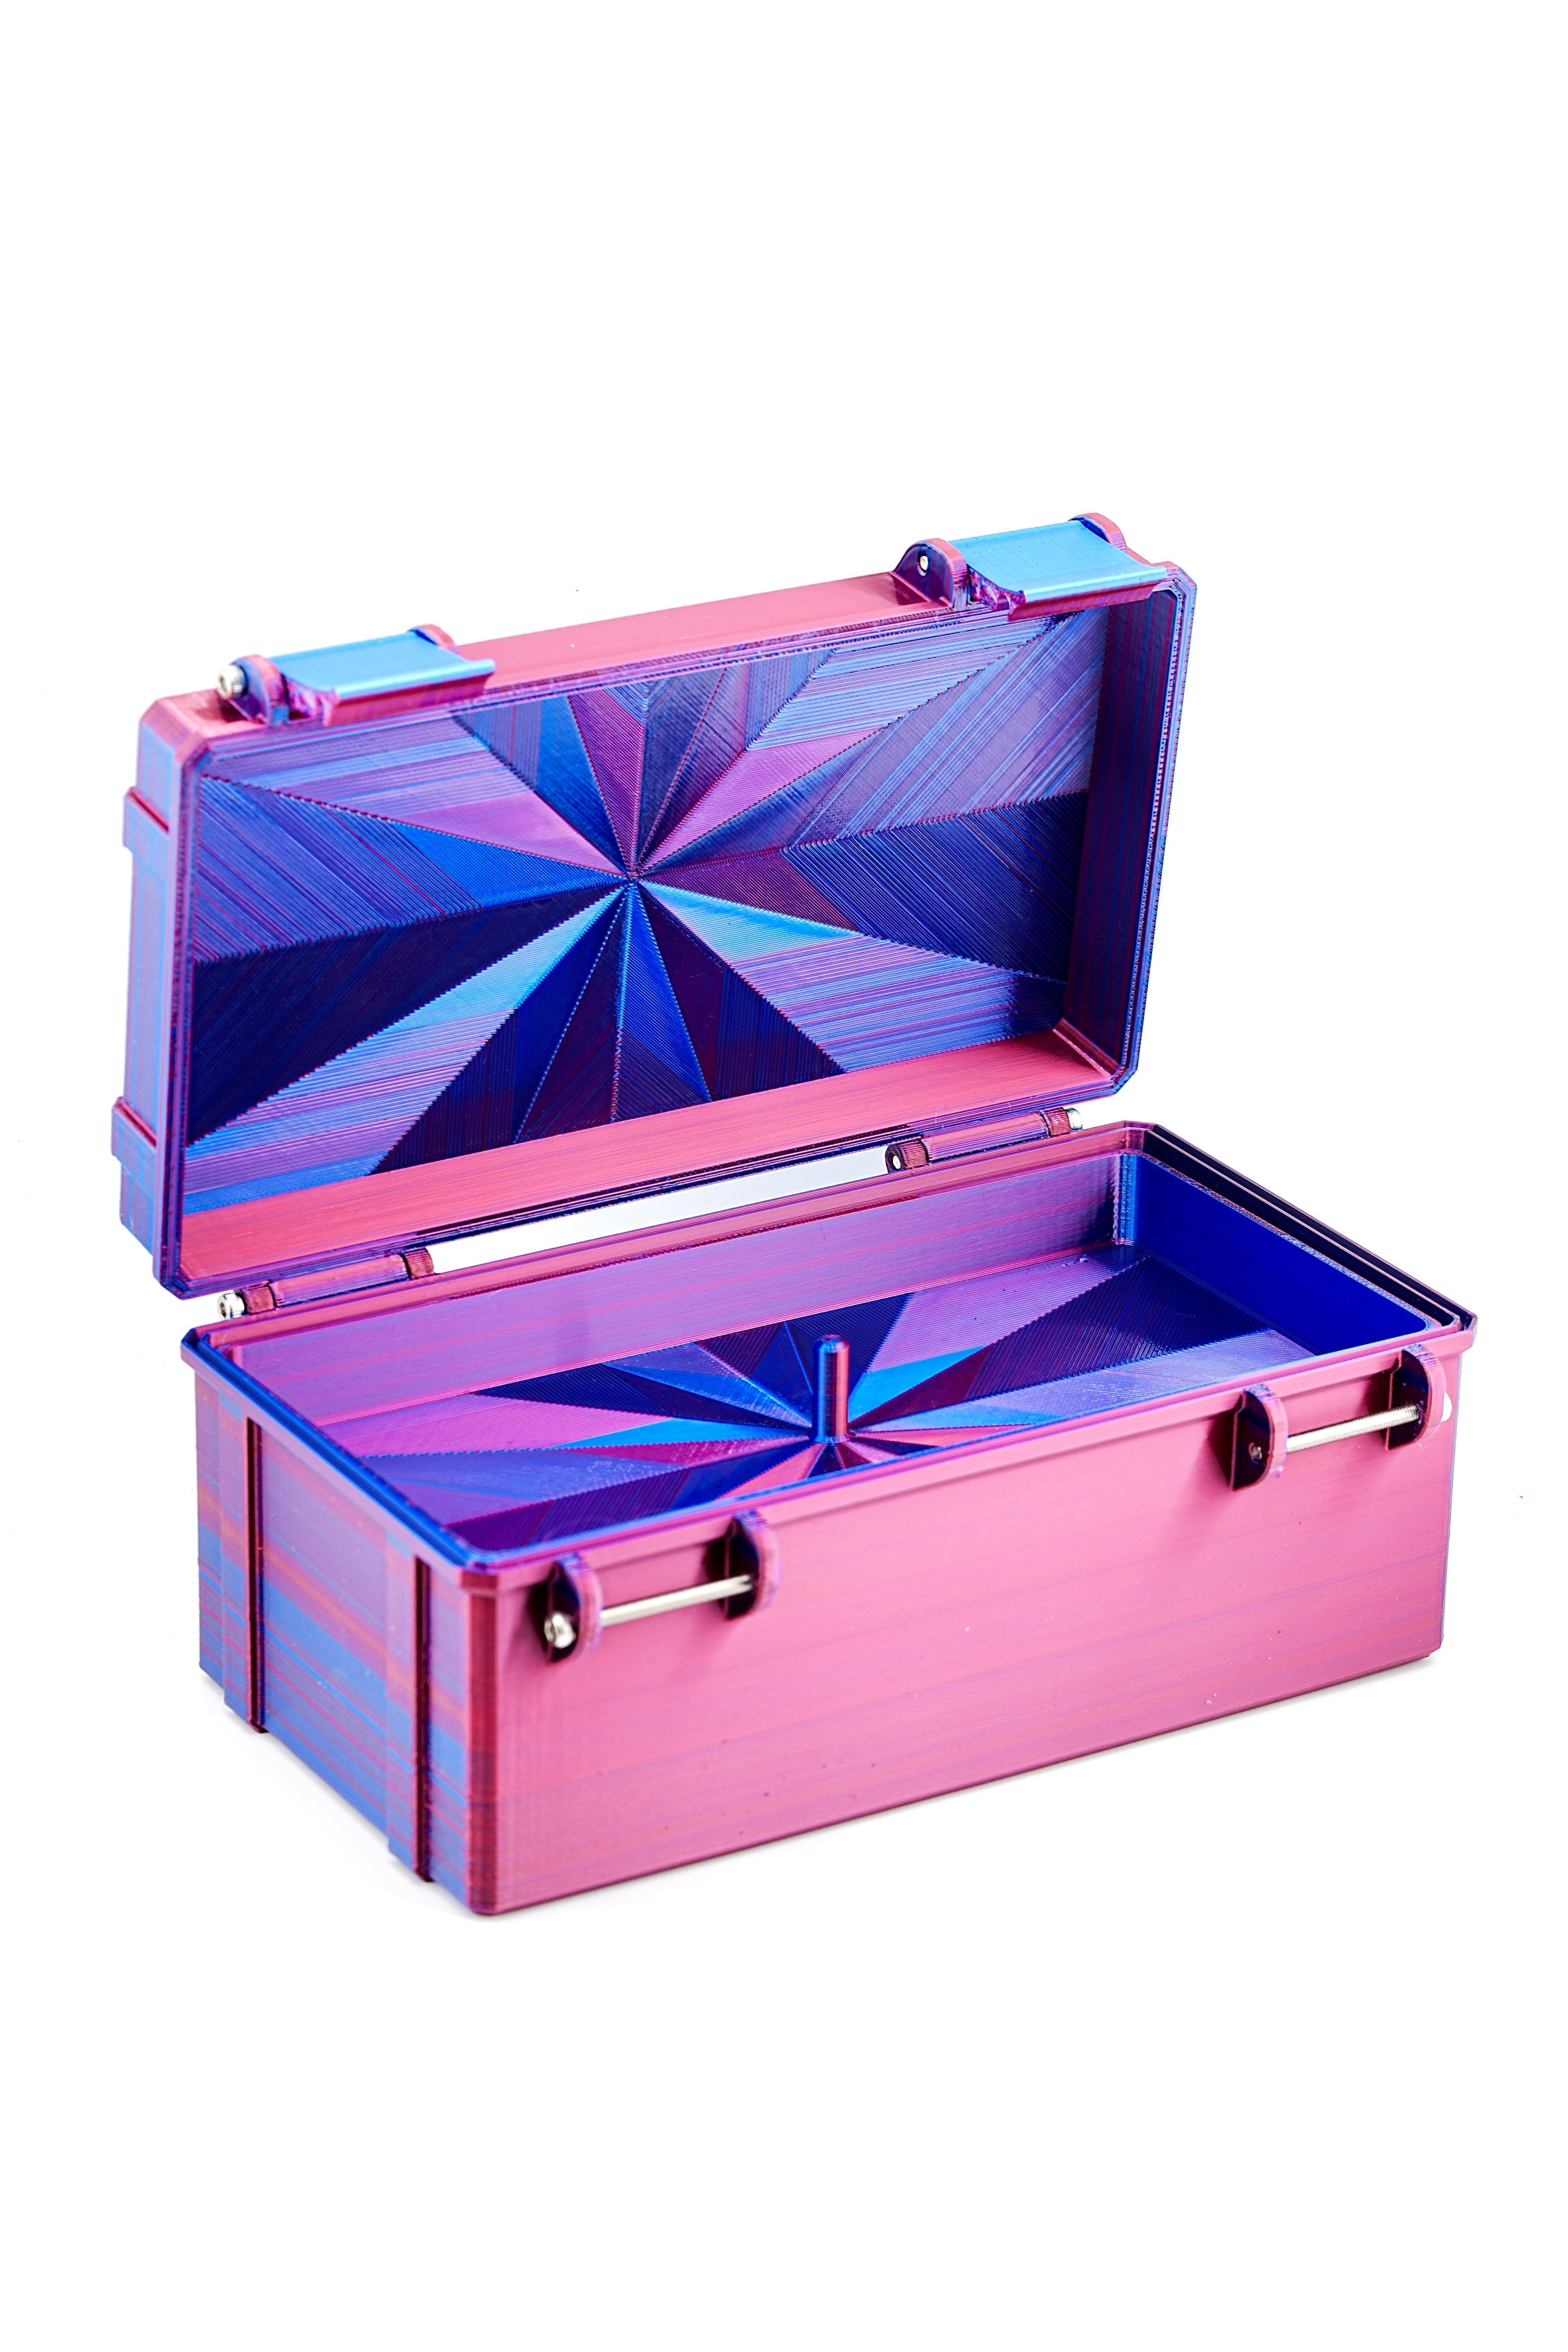
A case with a fitted pocket for each vial makes this effortless: each pocket holds exactly one vial, with no rolling or shifting. That spatial consistency is what makes positional memory work. A loose pile of vials in a zip bag gives you nothing to assign.
The dark-room test: if you had to find the right vial with the lights off, could you? With a fixed-pocket system, you could get to it, and then check the label in the light before using it.
Bottom line: A complete label (name, number, date opened, discard date, initials) on fridge-grade tape, color-coded by group, kept in a case with a dedicated pocket per vial. That is a system that runs itself: five minutes to set up, almost no effort to keep going.
Design your own custom case with a pocket for every labeled vial
Positional memory only works if the case has the right number of pockets in the right sizes. The PeptideCase™ builder lets you design exactly that. Start with an empty case, tap "Add item" and choose what you keep: 3 mL vials, 10 mL vials, peptide, TRT or glutathione vials, a BAC water bottle, syringes or pens, in the exact quantities you have. Each item becomes fitted pockets or an open bay sized for that count, with a finger scoop for every space.
Shorter vials stand on a raised floor, so every vial top, and every colored cap and label, lines up at the rim where you can see it. Auto-arrange finds the most compact layout, and the top view shows where each pocket sits so you can plan your numbering before the case is printed.
You can also label the case itself: add one or two lines of text, an icon or your own SVG logo, printed into the lid in a second color. Design a case for your labeled vials