
Why Organization Matters: It's a Safety Issue
This isn't about being neat for the sake of it. When you keep several different vials at once, each with its own label, its own date opened and its own storage directions, disorganization becomes a real risk.
Consider a common scenario: three identical-looking 3 mL vials in the fridge door, each holding something different. Same size, same clear contents, similar caps. Grab the wrong one in a hurry and you've used the wrong product.
A proper organization system takes that risk off the table: every vial has a color, a label and a fixed place.
Design a case with a zone for everything
Add your 3 mL and 10 mL vials, backups and supplies, and the builder lays out a compact case with a fitted space for each.
Labeling Systems That Actually Work
The best labeling system is the one you'll actually keep up. Here are three approaches, from simplest to most thorough:
Level 1: Colored Caps
The fastest method. Assign a color to each product and mark the vial's cap in that color, with a colored cap or a colored dot. Blue for one, green for the next, red for the third. You can pick out the right vial at a glance without reading anything.
Color-code your vials
Custom snap-on caps for 3 mL or 10 mL vials, with a cap color plus an icon or letters. Sets from 25 caps.
Level 2: Written Labels
Add a small adhesive label to each vial with:
- What the vial holds (a short abbreviation is fine if it's unambiguous)
- The date you received it
- The date you opened it
- The expiration date, copied from the original label if your label might cover it
Keep the original pharmacy or product label readable. Our vial labeling guide covers materials that survive condensation.
Level 3: Color + Label + Log
For larger kits, combine colored caps with written labels and a tracking log, either a spreadsheet or a notebook. Record every vial: product, lot number, date received, date opened, expiration date and where it's stored.
Pro Tip: If any of your vials' labels direct freezer storage, use labels rated for the freezer. Standard adhesive can peel off at freezer temperatures. Cryo-labels or freezer tape hold up. See our freezer storage guide for more.
Case Zones: Separating 3ml from 10ml, Active from Backup
A well-organized vial case uses zones, designated areas for different kinds of items. Here's a practical zoning system:
- Zone 1: Active 3 mL vials, the vials you're currently using.
- Zone 2: Active 10 mL vials and bottles, such as a sterile water bottle, GLP-1 vials or other multi-use vials.
- Zone 3: Backup and sealed vials, unopened reserves, either in their own row or a separate case.
- Zone 4: Syringes and supplies, sealed syringes and alcohol pads in their own spaces.
The key principle: active vials stay in one case, backups stay in another, each stored wherever its label directs. That prevents opening a backup early while you still have an active vial, and keeps your backup inventory clear. Remember that a case is a protective organizer, not a cooler; it can sit inside the fridge or a cooler as your labels direct.
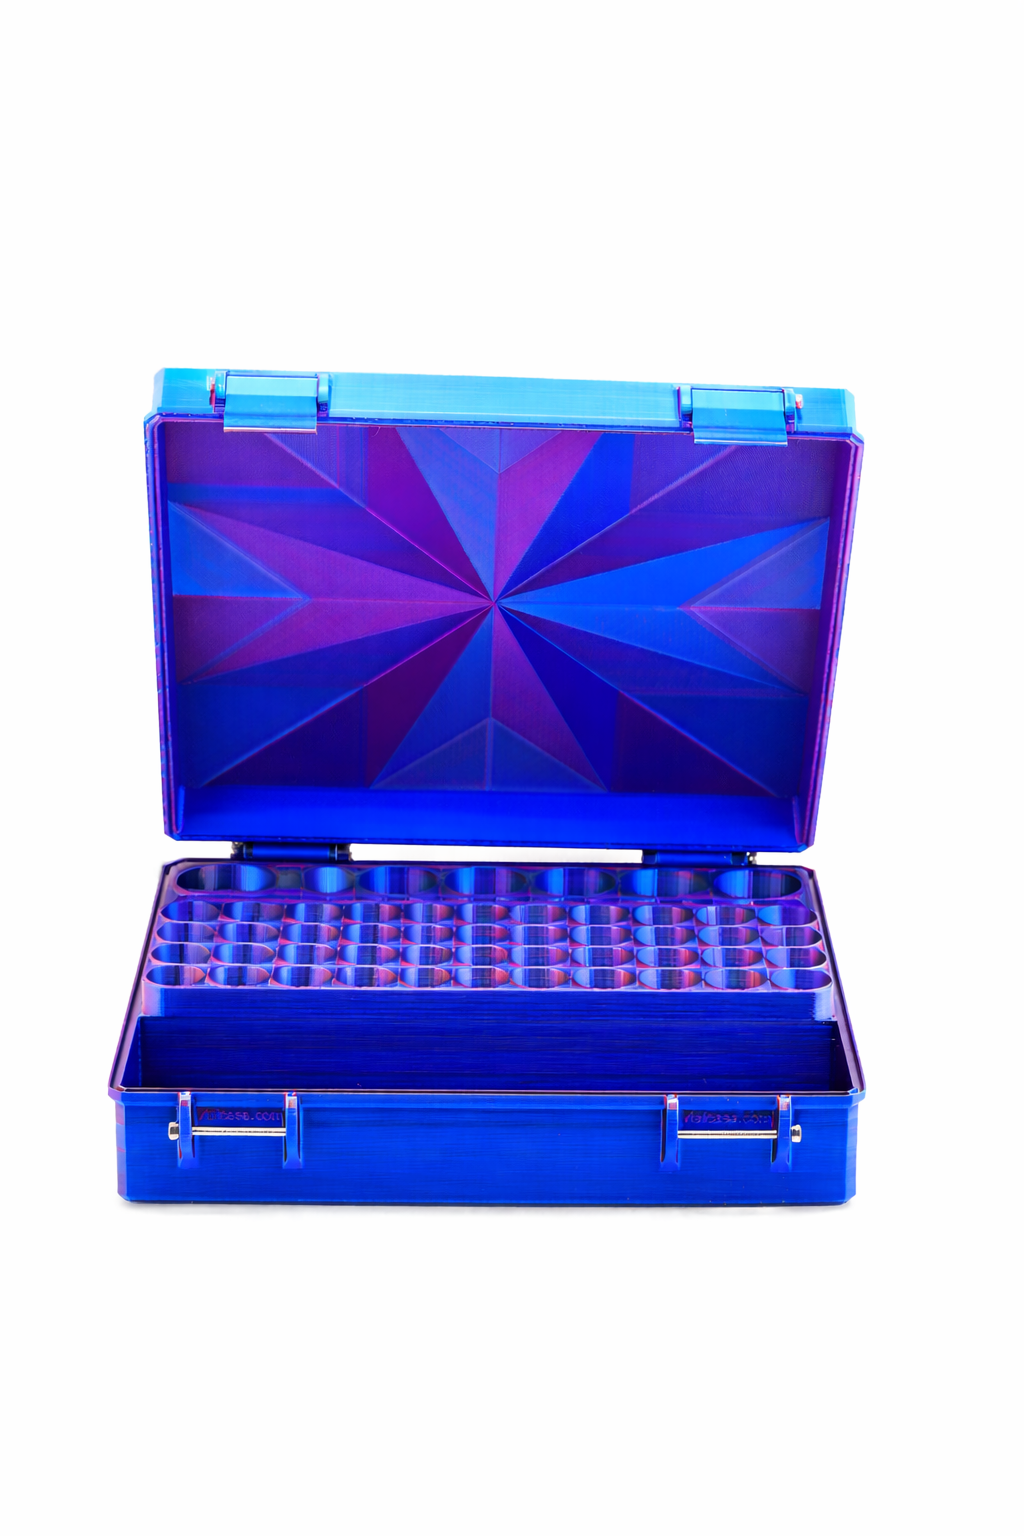
Multi-Vial Kit Examples
Here are common kit setups and how to organize them:
The Two-Vial Kit
The most common starting point. Organization is simple:
- Two active vials in the fridge case, both 3 mL vials
- A sterile water bottle in the same case, if it's part of your kit
- Color-code: a blue cap for one, a green cap for the other
- Fixed pockets, always in the same order
The GLP-1 + Second Vial Combo
Increasingly common, and it brings two vial sizes into one kit:
- A 10 mL GLP-1 vial
- A 3 mL vial of something else
- A sterile water bottle
- Different vial sizes mean you need a case that fits both 3 mL and 10 mL vials properly
The Larger Kit: 4-5 Products
For people keeping four or five products at once:
- Three 3 mL vials, each with its own cap color
- One or two 10 mL vials
- One or two sterile water bottles
- Total: at least six active pockets, plus room for backups and supplies
Pro Tip: Keep a simple chart on your phone or stuck to the fridge listing which product sits in which pocket and its cap color. Checking it takes seconds and ends confusion between look-alike vials.
Syringe Organization
Syringes deserve their own section in your system. Loose syringes bend, packaging tears, and they end up tangled with glass vials.
- Give them their own space: a trough or section of the case just for syringes, separate from the vial pockets.
- Keep them sealed: leave each syringe in its original packaging until you need it.
- Sharps disposal: keep a sharps container near your storage spot, and follow your local disposal rules.
Tracking Dates
Every vial has dates that matter: when it arrived, when you opened it, and when it expires. For how long a vial can be used once opened, follow the storage instructions on your product label or from your pharmacist or provider. Losing track of those dates means guessing, and guessing is what an organization system is meant to eliminate.
Best practices:
- Write the date opened on the vial, with a fine-tip permanent marker on a small label or on the cap.
- Keep the expiration date visible, copied onto your label if the original might get covered.
- Use a spreadsheet for larger collections: product, vial number, date received, date opened, expiration date and location.
Scaling Up: Large Collections
If you keep 20, 50 or more vials on hand, you need a system that scales beyond a small fridge case. Here's the approach that works for large collections:
- Sort on arrival: fridge, freezer or shelf, based on each product's label.
- Inventory log: a spreadsheet with every vial: product, lot, date received, expiration, quantity and location (case and pocket number).
- Large-capacity case: a case with organized rows for dozens of vials, or a custom case sized to your exact count. For very large collections, use several cases or a dedicated shelf. See our guide to high-capacity vial storage.
- Rotate stock: first in, first out. Use the oldest expiration dates first.
- A separate travel case: keep a smaller hard-shell case for trips, so the big collection stays home and organized. Crush resistance protects glass in your bag, and an organized kit is easy to show at security.
The Weekly Prep Routine
The most organized people spend ten minutes once a week on maintenance. Here's a sample routine:
- Check active vials: if one is running low, move a backup into the active case and label it.
- Inspect vials: look for cracks, loose caps and smudged labels. If anything looks off, set the vial aside and ask your pharmacist or provider.
- Check dates: compare each vial's dates against its label, and set aside anything past what the label allows.
- Restock supplies: make sure the case has the sealed syringes and alcohol pads you need for the coming week.
- Update your log: note what was used, what was set aside and what needs reordering.
It takes less time than brewing coffee and saves you from discovering an empty or expired vial at the worst moment. For fridge setup, see our fridge organization guide.
Build your own custom case for a multi-vial kit
Zones work best when the case is built around them. The PeptideCase™ builder lets you do exactly that. Start with an empty case, tap "Add item," and add each part of your kit: 3 mL vials, 10 mL vials, peptide vials, TRT vials, glutathione vials, other size vials, syringes, alcohol pads, a BAC water bottle, pens or pen cartridges, with how many of each. Every item becomes fitted pockets or an open bay sized for that count, so 3 mL and 10 mL vials, supplies and spares each get their own space.
Auto-arrange finds the most compact layout. The tallest item sets the case height, and shorter vials stand on a raised floor so every vial top lines up at the rim, where color-coded caps are easy to read. Every space has a finger scoop. Add a lid label like "Active" or "Backup" in a second color to tell two cases apart. Design your organized case