
If you're new to peptides, you'll find plenty of lists ranking what to try first. This isn't one of them: what you use, and how, is a conversation for you and your provider. This list covers the part beginners most often get wrong, which has nothing to do with the vial's contents: where the vial lives, how it's labeled, and how it's protected from day one.
The most common beginner failure isn't exotic. It's a vial in hand with no plan: it sits in the fridge door, rolls into the back of a drawer, or gets confused with the next vial that arrives. These ten steps fix that before it happens.
Design a case that fits your first kit
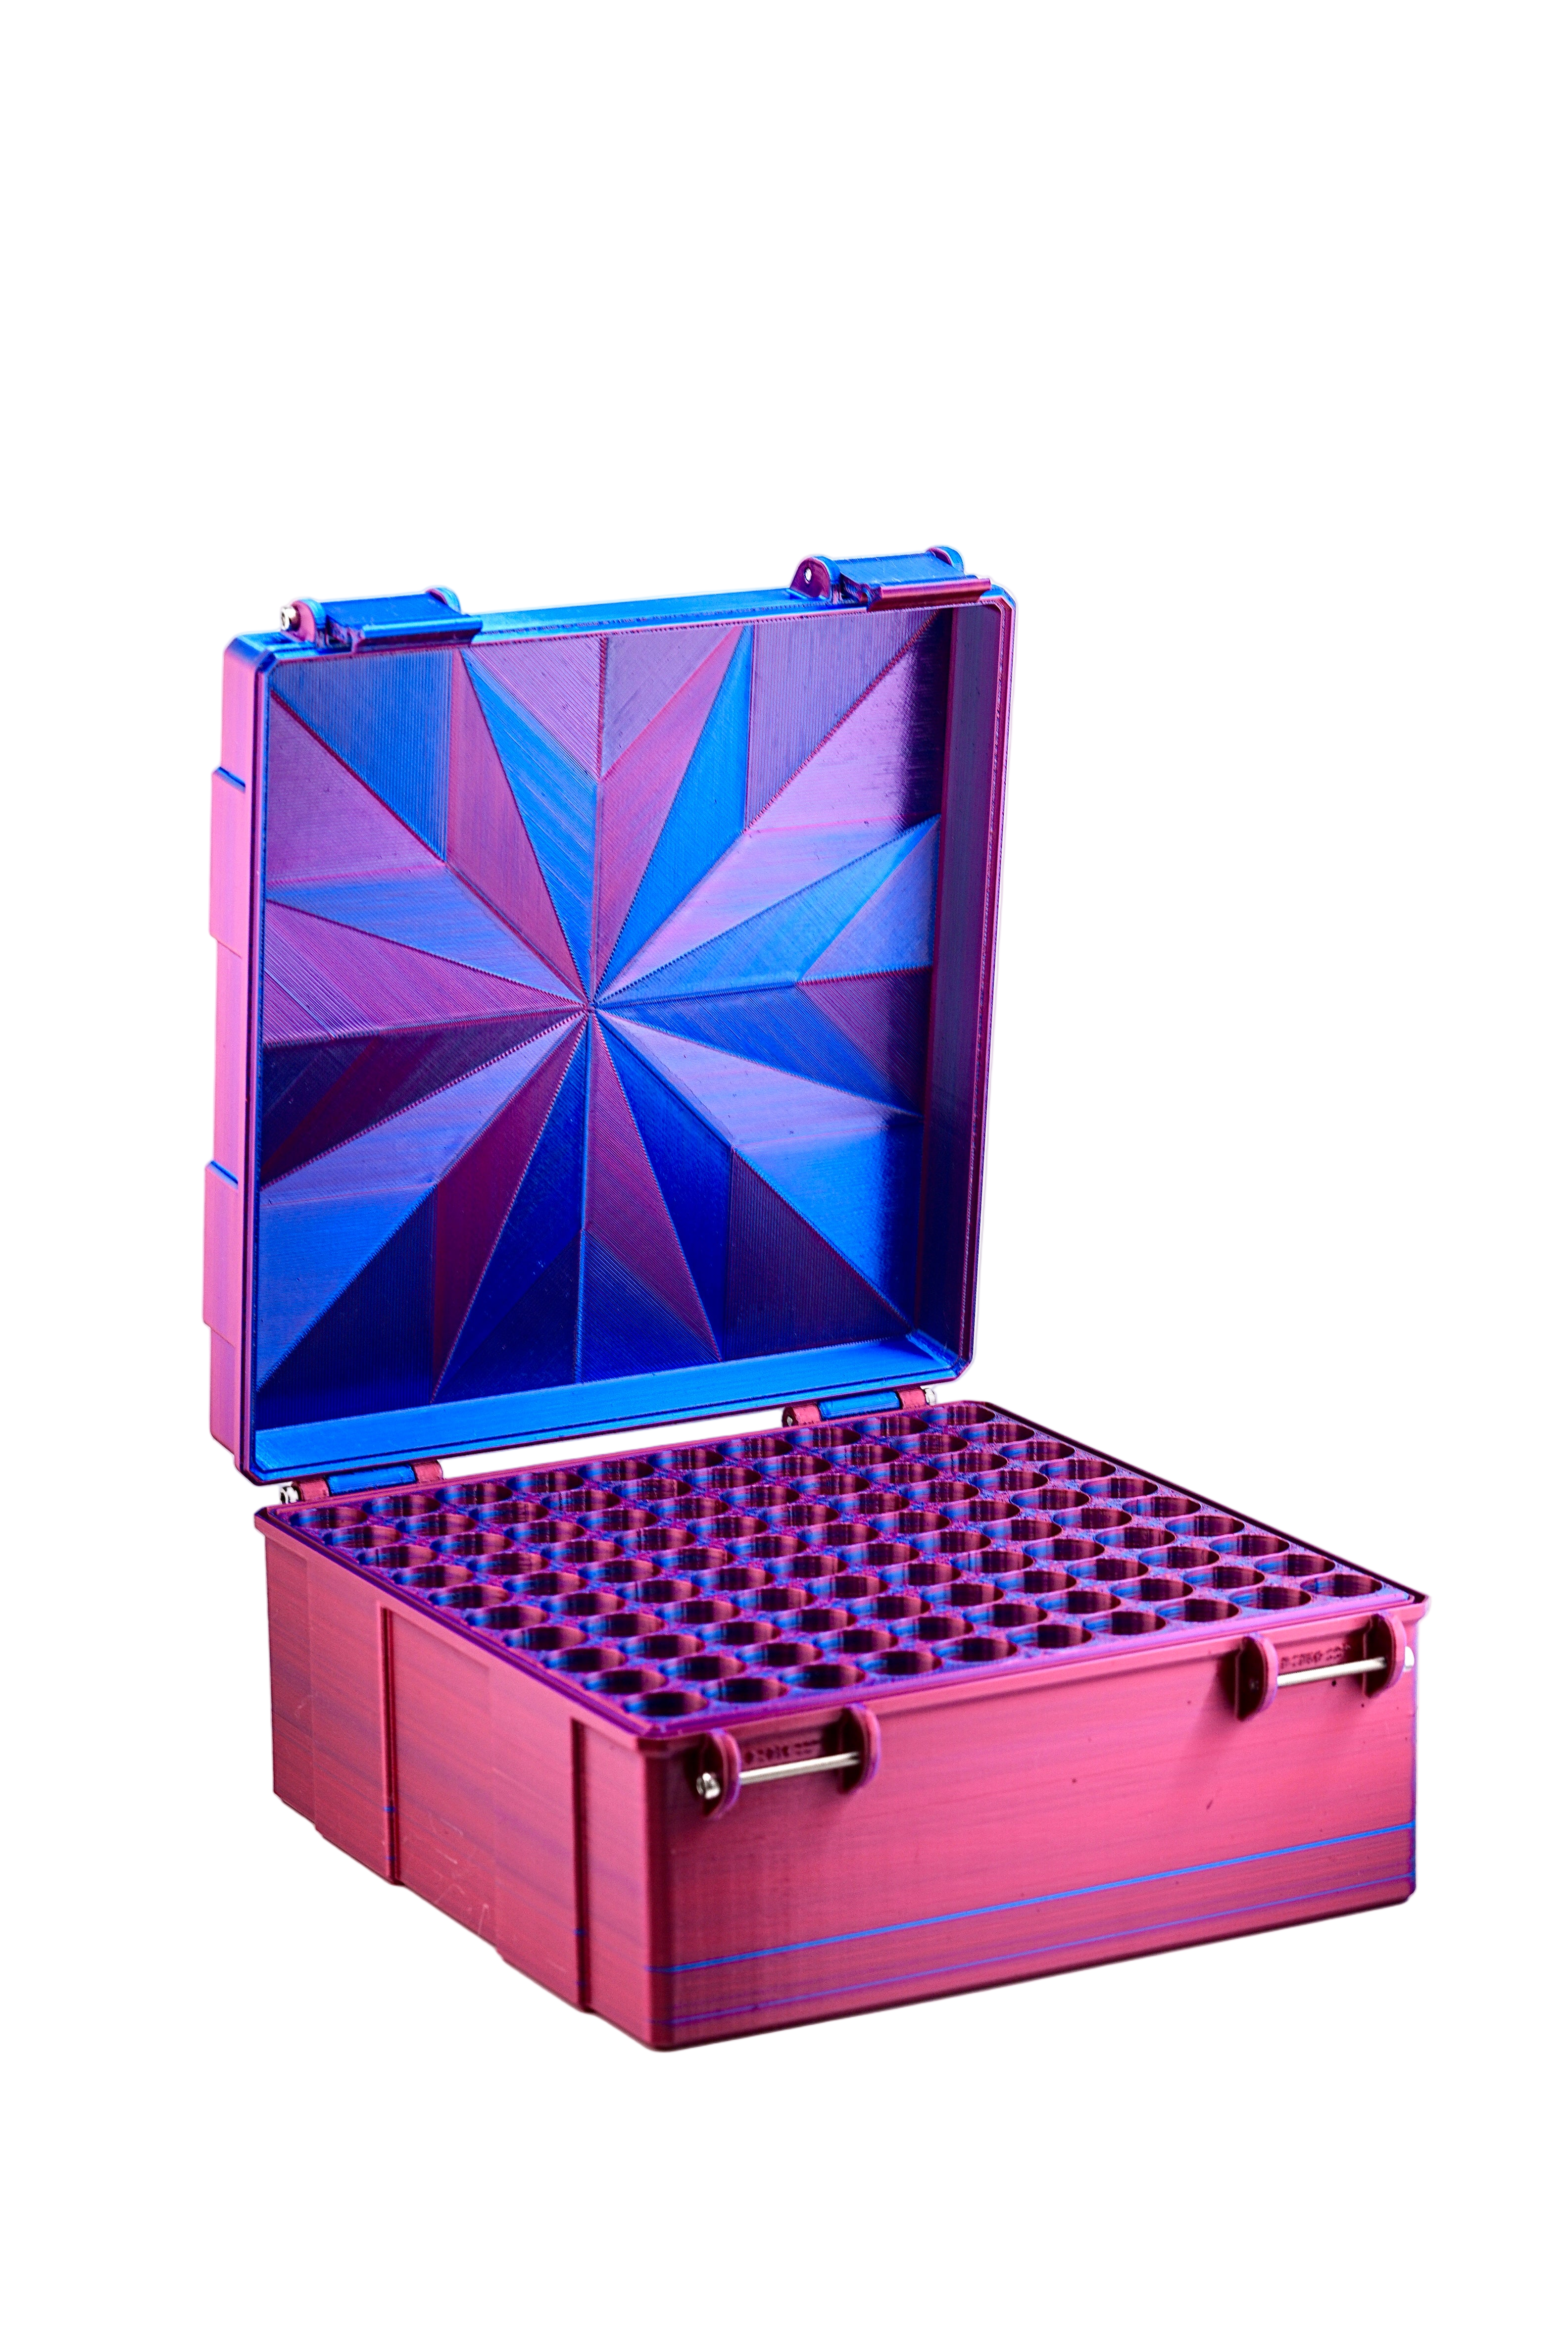
Add the few vials and supplies you start with, plus room to grow, and the builder lays out a compact hard case that fits them exactly.
10 First-Kit Steps for Peptide Beginners, in Order
1. Set Up Storage Before Your First Vial Arrives
Have your case, labels and fridge spot ready before anything shows up at your door. When a vial arrives and you're improvising, it ends up wherever there's room, and "temporary" spots tend to become permanent.
2. Read the Label First
For temperature, follow the storage instructions on your product label or from your pharmacist or provider. Unopened and in-use vials can carry different directions. If anything on the label is unclear, ask before you put the vial away, not after.
3. Choose a Hard Case Sized for Your Kit
Not a zip bag, and not the cardboard box the vial shipped in. You want a rigid case with a fitted pocket for each vial, so nothing rolls, tips or knocks together. For a single product with a backup or two and a sterile water bottle, about six pockets is plenty; if you're starting with two products, plan for more. A case is a protective organizer, not a cooler, and it sits inside the fridge or a cooler wherever your label says the vials belong. Our review of the top 10 peptide storage cases compares options.
4. Inspect Every Vial on Arrival
Check for cracks, chips, loose crimp caps and damaged labels as soon as the package arrives. Set aside anything damaged and contact whoever supplied it rather than using it.
5. Label Every Vial on Day One
Write what the vial holds and the date it arrived on a small waterproof label, without covering the original. Add the date you open it when you do. It takes seconds and prevents the most common confusion. See our vial labeling guide.
6. Pick a Permanent Fridge Spot
Choose one interior shelf spot, toward the back and away from food, where the case always lives. Avoid the door, the most jostled spot in the fridge. A fixed spot means nobody moves your case to make room for leftovers.
7. Give Your Supplies a Home
If you keep a sterile water bottle, syringes or alcohol pads, store them sealed in their original packaging in the same case as your vials, each in its own space. One case is easier to keep track of than a drawer, a cabinet and a bag.
8. Keep In-Use Vials Separate From Backups
The vial you're using and the unopened backups shouldn't share the same loose space. Use separate rows or a second case, stored as each label directs, so a backup never gets opened early by mistake.
9. Color-Code When You Add a Second Product
The day a second product arrives is the day look-alike vials become a problem. Give each product its own cap color so you can tell them apart at a glance, and keep them in fixed pockets in the same order. Our guide to storing several vials walks through the full system.
Color-code your vials
Custom snap-on caps for 3 mL or 10 mL vials, with a cap color plus an icon or letters. Sets from 25 caps.
10. Plan Your First Trip Before You Book It
Your first trip with vials is where most beginners improvise. Carry the case on, never in checked bags; keep medication in its original labeled packaging; bring a prescription or provider letter where it applies; and if your label calls for refrigeration, pack the case in an insulated cooler with a cold pack. Our TSA travel guide covers screening.
Your First Setup: What You Need on Day One
- A hard-shell vial case with a fitted pocket for each vial and room for your supplies.
- Waterproof labels and a permanent marker.
- A fridge thermometer, ideally one that alerts your phone, so you know your fridge matches your label.
- An insulated cooler and cold packs for travel or a power outage.
- A simple log of what you have, when it arrived and when it expires.
Everything above, organized in one place: our peptide starter kit guide.
Make your own custom case for your first kit
Beginner kits are small, and most ready-made cases aren't: a twelve-slot case for one vial and a water bottle is mostly empty holes. The PeptideCase™ builder lets you make a case that fits exactly what you have now. Start with an empty case, tap "Add item," and pick from 3 mL vials, 10 mL vials, peptide vials, other size vials, syringes, alcohol pads, a BAC water bottle or a pen, plus how many of each. Add a spare pocket or two if you expect your kit to grow.
Every item becomes fitted pockets or an open bay sized for that count, and Auto-arrange makes the case as compact as possible. The tallest item sets the case height; shorter vials stand on a raised floor so every vial top lines up at the rim. Every space has a finger scoop, and the builder shows the exact size and a 3D view before it's printed to order in the US. Design your first vial case
Storage Is the First Step
Experienced users treat storage as the first step, not an afterthought. The setup is modest: a case, labels, a fixed fridge spot and a plan for travel. It costs less than replacing a single broken vial, and it makes everything that comes after calmer. For the most common errors to avoid, see the top peptide storage mistakes.