
Before You Start: What This Guide Covers
Setting up a GLP-1 vial kit involves two separate jobs. The first, how to prepare and use your medication, belongs entirely to your pharmacist or provider: follow their directions and the instructions that come with your product. The second is the one this guide covers: getting the vials, the sterile water bottle and the supplies organized, protected and stored correctly so nothing gets broken, lost or confused.
That second job gets skipped more often than you'd think. People get the vial, the water bottle and a box of supplies, and they end up in three different places: the fridge door, a kitchen drawer and a bag. A small kit works best when everything lives together.
Design one case for your whole GLP-1 kit
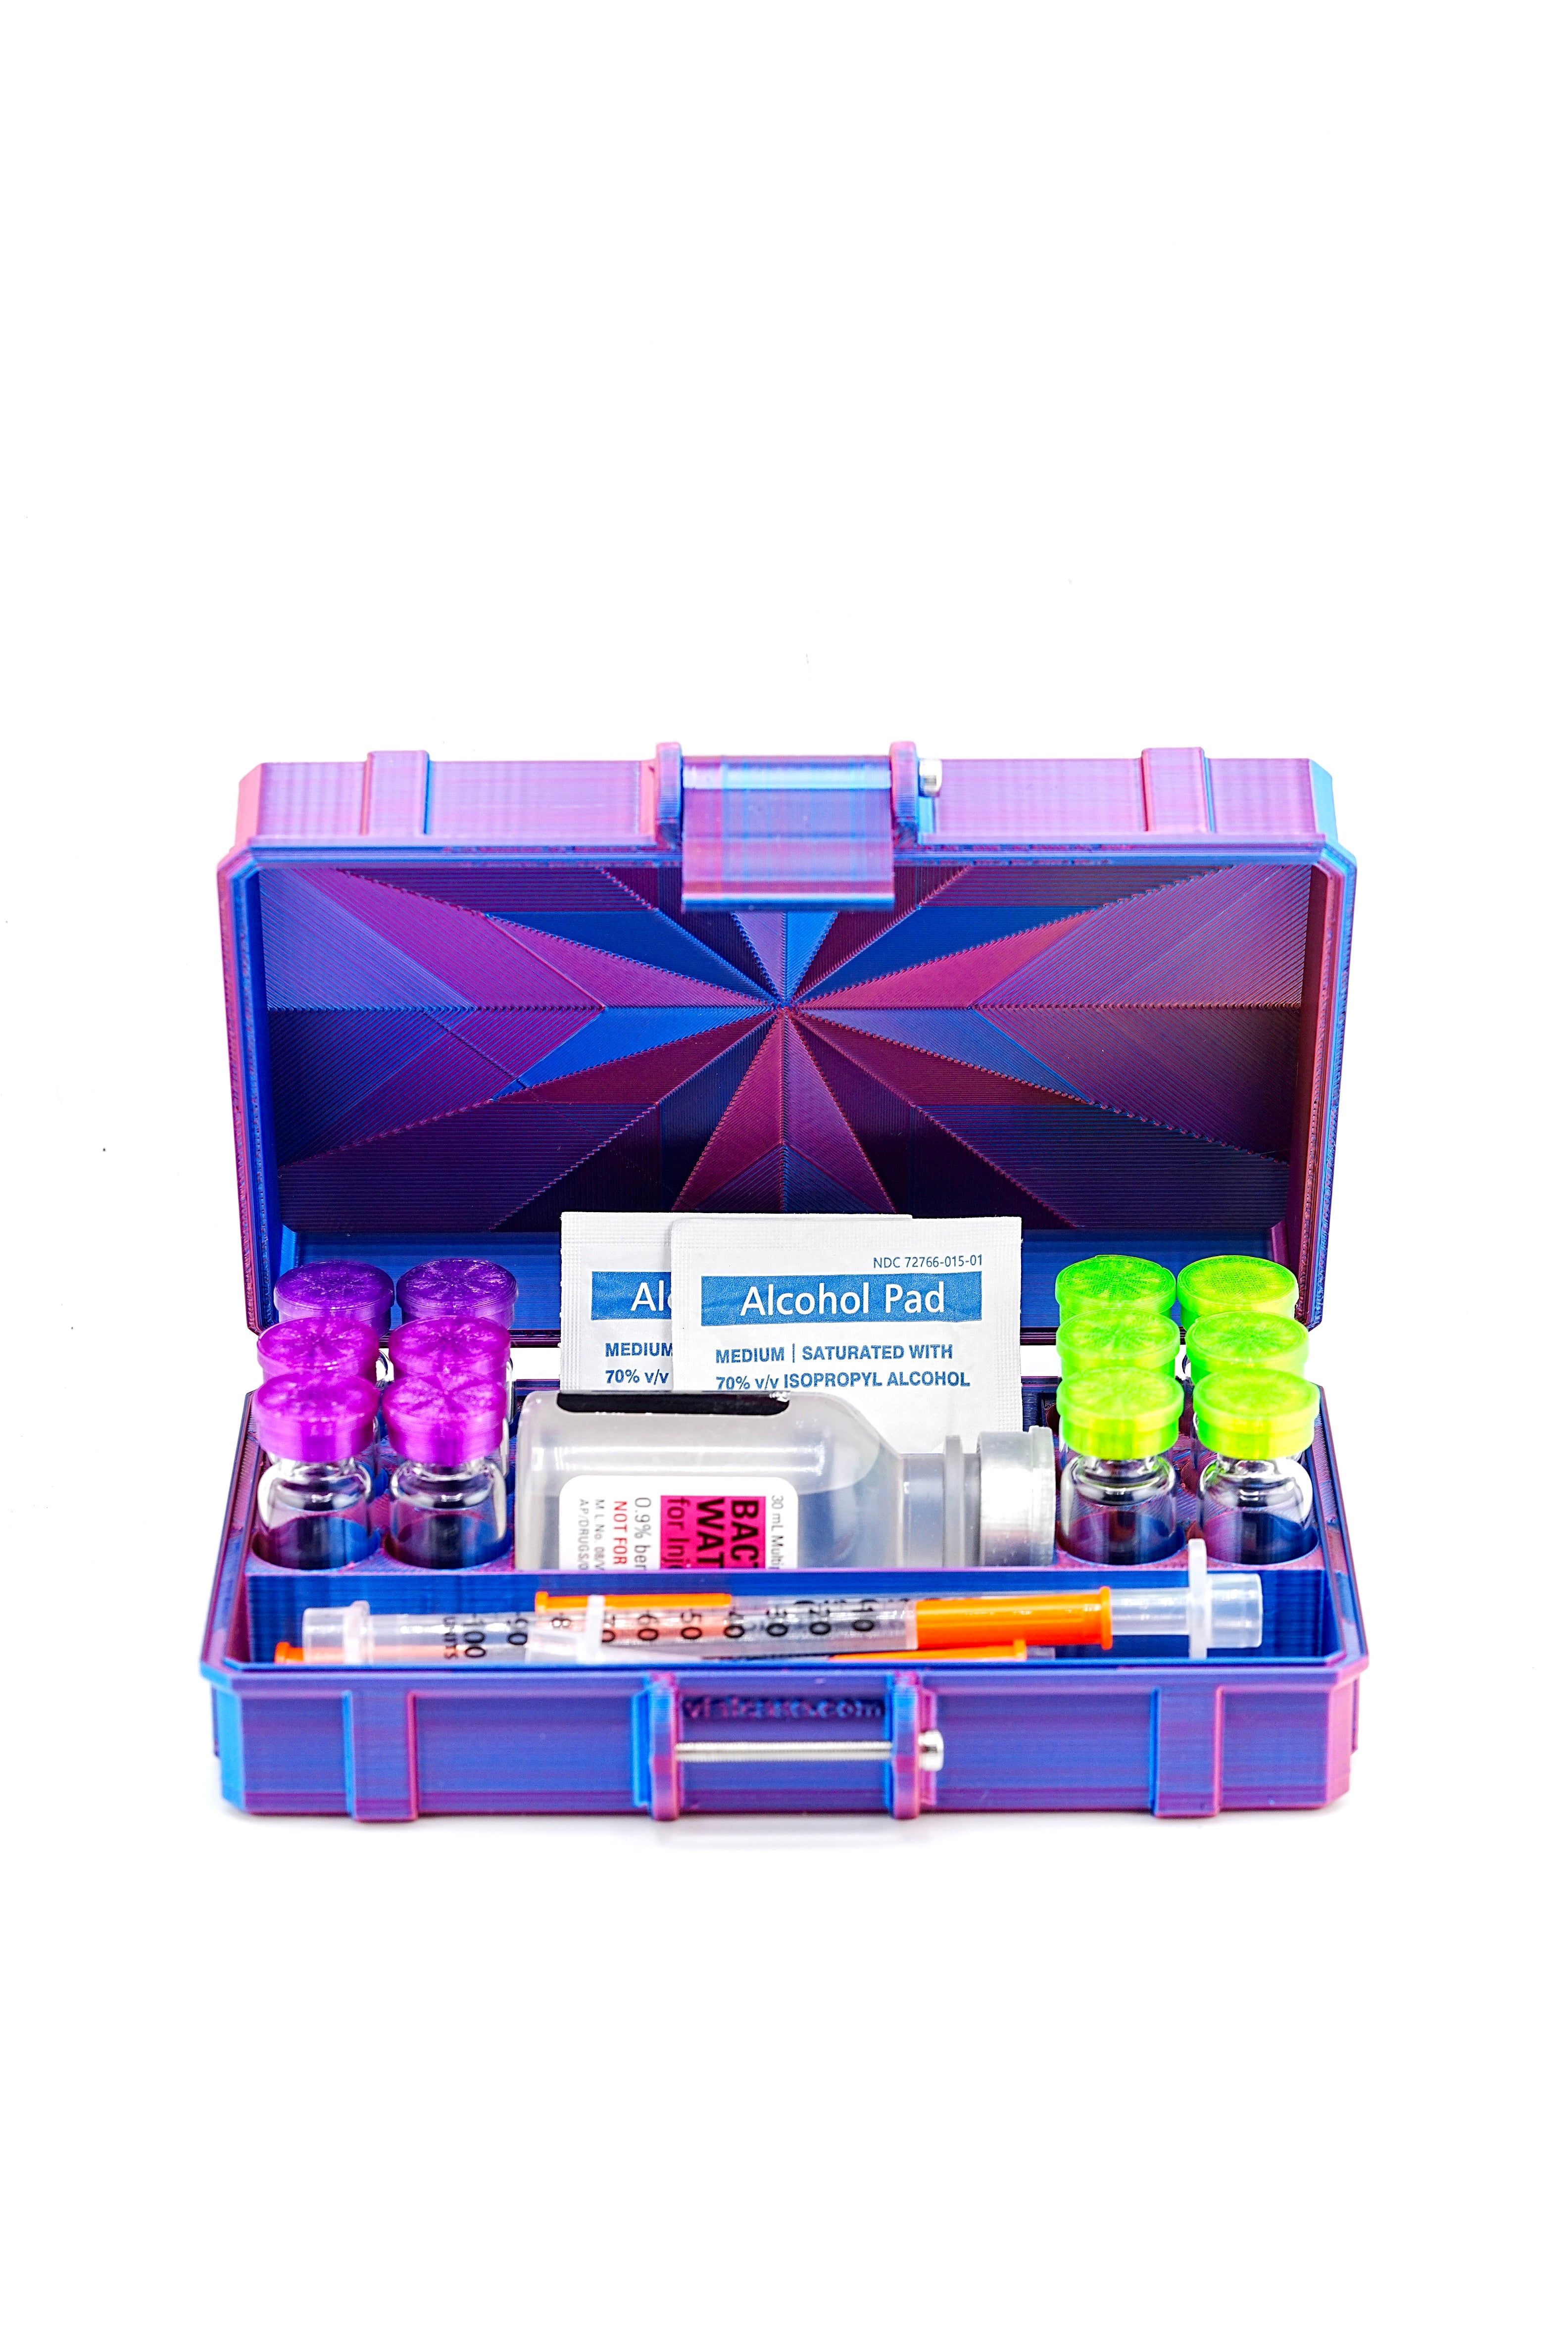
Add your vials, water bottle, syringes and pads, and the builder lays out a compact hard case with a fitted space for each item.
What Your GLP-1 Vial Kit Includes
Most GLP-1 vial kits are made up of the same few items. Each one has a different shape, and each needs its own place:
- GLP-1 vials: small glass vials, often 3 mL or 10 mL, that need to stand upright.
- A sterile water bottle: taller and wider than a vial, with its own label and expiration date.
- Syringes: long and flat, best kept sealed in their packaging in a trough of their own.
- Alcohol pads: individually wrapped and easy to lose; they belong in a small bay.
- A sharps container: kept separately, never in the case, following your local disposal rules.
Keep everything sealed in its original packaging until you need it, and keep the pharmacy or product labels readable.
Set Up a Clean, Organized Spot
An organized setup makes every use calmer and quicker:
- Pick one clean, clear surface away from the sink and the stove, where nothing can roll off.
- Open one case, not three drawers. When the vials and supplies live together, everything you need is in front of you.
- Take out only what you need and put each item back in its own space as soon as you're done.
- Close the case and return it to where your label says it belongs before you walk away.
The fewer things that leave the case, the fewer things get left on the counter.
After You Open a Vial: The Storage Rules That Matter
Follow the Label
Once a vial is opened or in use, its storage directions can be different from when it was sealed. Follow the storage instructions on your product label or from your pharmacist or provider, including how long the vial can be used once opened.
Label It With the Date
Write the date you opened the vial on a small label, without covering the original. When you keep more than one vial, add what each one holds. Our vial labeling guide covers labels that survive fridge condensation.
Protect From Light
If the label says "protect from light," keep the vial in its carton or a closed, opaque case so it isn't sitting in the light every time the fridge opens.
Keep It Upright, on an Interior Shelf
Store the vial standing in a fitted pocket on an interior shelf toward the back, away from food, not in the door, where it gets bumped every time the fridge opens. A hard case is a protective organizer, not a cooler; it sits inside the fridge or a cooler wherever your label says the vial belongs.
Common Storage Mistakes and How to Avoid Them
Storing Vials in the Wrong Container
Zip bags, cups and egg cartons don't hold vials upright or protect them from bumps. A rigid case with a fitted pocket per vial does both.
Splitting the Kit Up
The vial in the fridge, the water bottle in a cabinet, the supplies in a drawer: that's how things get lost or forgotten when you travel. Keep the whole kit together in one case.
Leaving the Vial on the Counter
The most common slip is simply forgetting to put the vial back. Make closing the case and putting it away the last step, every time.
Skipping the Label
An unlabeled vial, especially next to a look-alike, is a guessing game. Label on the day you open it.
Using the Fridge Door
The door shelf is the most jostled spot in the fridge. Use an interior shelf and a case instead. Our fridge organization guide shows the full setup.
Make your own custom GLP-1 kit case
A GLP-1 vial kit isn't just vials, which is why vial-only cases leave the water bottle and supplies rattling loose somewhere else. In the PeptideCase™ builder you start with an empty case, tap "Add item," and pick what your kit actually holds: 3 mL vials, 10 mL vials, other size vials, a BAC water bottle, syringes, alcohol pads (flat or standing), pens or pen cartridges, and how many of each. Every item becomes fitted pockets or an open bay sized for that count, so the water bottle gets a bay of its own and syringes get their own trough.
Auto-arrange packs everything into the most compact layout. The tallest item sets the case height, and shorter vials stand on a raised floor so every vial top lines up at the rim, easy to grab. Every space has a finger scoop. Check the top view and 3D view, pick Black or RGB Metallic, and it's printed to order in the US. Build your GLP-1 kit case
Organization Is the First Step in a Tidy Routine
A tidy kit doesn't change what's in the vial, but it changes everything around it: fewer broken vials, no hunting for supplies, nothing left on the counter, and a kit you can pack for a trip in seconds. For preparation and use, follow your pharmacist's or provider's directions; for everything else, give each item a home and keep it there. See our roundup of the best GLP-1 storage cases for more options.