
A GLP-1 vial rarely sits alone in the fridge. Many people keep one or two GLP-1 vials alongside several peptide vials, a BAC water bottle, unopened backups and a box of syringes, and before long they're managing 15 to 25 items before anything unusual is added. This guide covers high-capacity storage for people and clinics with large GLP-1 and peptide inventories: how to size your system, how to organize it, how to set up the fridge, and what a case that can actually handle the load looks like.
Why GLP-1 Users Need High-Capacity Storage
GLP-1 vials create high-capacity problems even for people who only keep one kind. A few patterns explain why, and they're the starting point for a system that works.
Design a large case around your vial counts
Enter each vial type and how many, add bottles and supplies, and the builder lays out a big case with a pocket for everything.
GLP-1 vials often arrive several at a time. A supply can show up as a handful of vials at once. Only one is in use; the rest sit in the fridge waiting their turn, and every one of them needs a safe, identifiable place for as long as it's there.
Different vials are on hand at the same time. It's common to have the vial in use, the next vial, and a partly used one from before, all in the fridge together. They can look nearly identical. Without a clear system, picking up the wrong one is a real and avoidable risk.
Combined kits multiply vial counts quickly. Someone keeping a GLP-1 vial plus three or four peptide vials, a BAC water bottle and backups is already at 10 to 15 items in an ordinary week. Add two more peptides and 20 or more vials is the norm rather than the exception.
Reality check: If you've ever opened the fridge and moved three vials to find the one you wanted, you've already crossed the line where your storage needs to change. Organization at scale takes deliberate design, not just more shelf space.
What "High-Capacity" Means for Home Users vs. Clinics
"High-capacity" means different things at different scales, and the solutions differ too. It's worth knowing where you fall before you invest in a system.
For home users, high-capacity usually means 20 to 60 vials. This is the range where one small case is no longer enough, but a clinical setup is overkill. The right answer is usually two coordinated cases: one for the vials you're using, kept on a fixed fridge shelf, and one for unopened backups, kept wherever their labels say. A dedicated mini fridge for the in-use case keeps it away from the constant door traffic of a family fridge.
For power users, high-capacity means 60 to 150 vials. People who buy supplies in larger batches, or households where several people keep their own vials, land here. A tiered system becomes necessary: cases for the vials in use, a dedicated mini fridge for that active inventory, and organized, labeled storage for backups.
For clinics, high-capacity means 150 to 500 or more vials. Clinics, compounding pharmacies and wellness centers managing patient inventories need commercial-grade equipment: pharmaceutical refrigerators with tighter control than household units, continuous temperature monitoring with alarms, access logging and formal inventory procedures. Storage cases are one piece of a larger system, used for organized access inside the fridge.
The GLP-1 Storage Challenge: Multiple Vial Types
Keeping GLP-1 vials alongside peptides is harder because you're juggling several vial types, each with its own size and handling needs.
Compounded GLP-1 vials. These are often the largest vials in the kit, commonly somewhere between 2 and 10 mL depending on the pharmacy. Follow the storage instructions on each label. Because one vial may be in use for a while, it gets taken out and put back many times, so it needs a fixed pocket that's easy to reach without disturbing everything else.
Peptide vials. Most peptide vials are smaller, usually 2 to 3 mL. In a shared system they need to be instantly distinguishable from the GLP-1 vials, so you never pick up one when you meant the other.
BAC water bottles. These are physically larger than most peptide vials and need their own bay. Otherwise they end up taking over vial slots, or rolling loose on the shelf. A case that takes 3 mL vials, 10 mL vials and a bottle is essential for any combined kit.
Unopened backup stock. Backups should be kept completely apart from the vials in use, clearly labeled, and stored wherever their labels say. Keeping them in their own case is the simplest way to make sure nobody opens a new vial by accident or stores one in the wrong place.
Pro tip: Use color-coded label tape or colored caps to tell vial types apart at a glance. Give GLP-1 vials one color, peptide vials another and the BAC water bottle a third. Color works even when you're reaching into the fridge quickly and not reading labels.
Organizing GLP-1 Alongside Peptides: A System That Works
The core rule of a combined GLP-1 and peptide setup is separation by role. Every vial should have a fixed, assigned place, and that place should tell you something about what the vial is and when you'll use it.
Zone 1: GLP-1 vials in use. The GLP-1 vial you're currently using goes front and center in your case or on the shelf, where you can confirm the label and see how much is left without moving anything else.
Zone 2: Peptide vials in use. Peptide vials you're currently using go in labeled pockets next to the GLP-1 zone but clearly separate from it. They're often handled more often, so put them where you can reach them without disturbing the rest of the inventory.
Zone 3: BAC water and supplies. The BAC water bottle, syringes and alcohol pads get their own section. They still belong in the case, not loose on a shelf or scattered across drawers.
Zone 4: Backup GLP-1 vials. Unopened GLP-1 vials waiting their turn go in a back section or a second case, labeled with the date they arrived. First in, first out: always use the oldest vial first.
In a custom case the zones become physical. Each item you add in the builder, such as 10 mL vials for the GLP-1 zone, 3 mL vials for peptides and a BAC water bottle, gets its own fitted pockets or bay. For more on setting up the shelf around it, see our peptide fridge organization guide.
Fridge Zones for Large GLP-1 and Peptide Kits
For temperature, follow the storage instructions on each product label or from your pharmacist or provider. What follows is about using the fridge well once you know where everything belongs.
The back of a middle shelf is the calmest spot. In most household refrigerators, the back-center of a middle shelf is the steadiest place: far from the door, which lets warm air in every time it opens, and away from the very top and bottom. Keep your in-use case there.
Keep vials off the door shelf. The door is the most bumped and most often opened part of the fridge, and it warms first. Loose vials there tip, rattle and fall. The door is for condiments, not vials.
The mini fridge advantage. A dedicated mini fridge used only for your vials takes away most of the trouble of sharing space with food. Fewer door openings (you only open it for your vials, not every time someone wants a snack) means a steadier environment and less handling. For people managing 20 or more vials, it's often worth it. Put a min/max thermometer inside so you know what it's actually doing.
Backup stock gets its own place. If your labels call for different storage for unopened stock, give the backups their own labeled case and keep that case where the label says. Vials never drift into the wrong spot when each case has one home.
Labeling Systems for Large Inventories
Once your inventory passes 15 to 20 vials, labeling stops being a nice extra and becomes a requirement. Here's a system that works at scale.
Every vial needs four pieces of information: a name or abbreviation, the date it arrived, the date it was first opened, and any use-by date from its label. That sounds like a lot, but a strip of label tape and a fine marker handle all four in seconds. The key is consistency: every vial, every time, no exceptions.
Abbreviation standards. At scale, writing full product names on every vial isn't practical. Pick a short code for each product, such as three letters, and use it everywhere: on vials, on the inventory sheet and on the case lid. Anyone who opens your storage should be able to decode the labels without asking.
Color coding by vial type. Assign a distinct color to each type: GLP-1 vials one color, peptide vials another, BAC water a third. Colored caps are ideal because they're visible from above without any writing. Custom vial caps come in 3 mL or 10 mL sizes, with a cap color plus an icon or one or two letters in a mark color, in sets from 25 caps in steps of 5, and one set can hold several designs.
Color-code your vials
Custom snap-on caps for 3 mL or 10 mL vials, with a cap color plus an icon or letters. Sets from 25 caps.
A master inventory sheet. Keep a laminated inventory sheet inside your case lid or on the fridge shelf, and update it when vials come in or run out. List every item, where it sits (pocket or zone), how many you have and the dates that matter. For a full labeling walkthrough, see our guide on how to label peptide vials.
What to Look for in a High-Capacity Case
Not every case sold as "high capacity" is built for a serious GLP-1 and peptide inventory. These are the features to check.
Room for more than one vial size. A combined kit has at least two vial sizes, the GLP-1 vials and the smaller peptide vials, plus a bottle or two. The case must take all of them, ideally in clearly separate sections, without improvised padding or stacking.
Light protection where your labels ask for it. If your labels say to protect from light, the case should be solid when closed, with no clear window, mesh panel or translucent shell.
A pocket for every vial. High capacity doesn't mean dumping everything into one compartment. Each vial needs its own pocket so glass never knocks against glass, especially in a collection where vials are added and removed all the time.
Hard-shell construction with a latch. The case will be moved in and out of the fridge, shifted when you clean, and carried now and then. A rigid shell with a latching lid is the standard. Soft pouches and fabric organizers aren't suitable for glass vials at any scale.
Vial tops you can reach. In a big case, vials buried deep in foam get pulled out by the cap and fumbled. Look for a layout where the tops sit near the rim with room for a fingertip.
Room to grow. A system you can't expand becomes a problem as your kit grows. Look for cases that work on their own or side by side, so you can add capacity without replacing everything.
The Top Solutions at Each Capacity Level
The right setup depends on your vial count and how your kit is structured. Here's a practical framework for each tier.
20 to 30 vials (moderate GLP-1 and peptide kit): A single large custom case with pockets for both 3 mL and 10 mL vials and a bay for the BAC water bottle handles this cleanly. Keep it on a dedicated fridge shelf, with the zones above laid out inside the one case. This is the "everything in one place" setup that suits people keeping four to six kinds of vials with moderate backup stock.
30 to 60 vials (large combined kit or bulk supply): Two cases, one for vials in use and one for backups, plus a dedicated mini fridge for the in-use case. This tier gains the most from consistent labeling and an inventory sheet, because there are simply too many vials to track from memory.
60 to 150 vials (power user or small clinic): A dedicated fridge for vials in use, labeled backup storage according to each label, and several coordinated cases for organized access inside each appliance. Temperature logging and an inventory spreadsheet become essential at this tier.
150+ vials (clinical setting): Commercial pharmaceutical refrigerators with tight control and continuous logging, case systems for organized access inside the fridge, access control and inventory software. This tier needs institutional procedures, not just better cases.
Start where you are, plan where you're going: The best high-capacity system is sized for where your inventory will be in six months, not where it is today. If you're about to add another kind of vial, design the case for the bigger kit now rather than after you've outgrown the current one.
Make your own custom high-capacity case
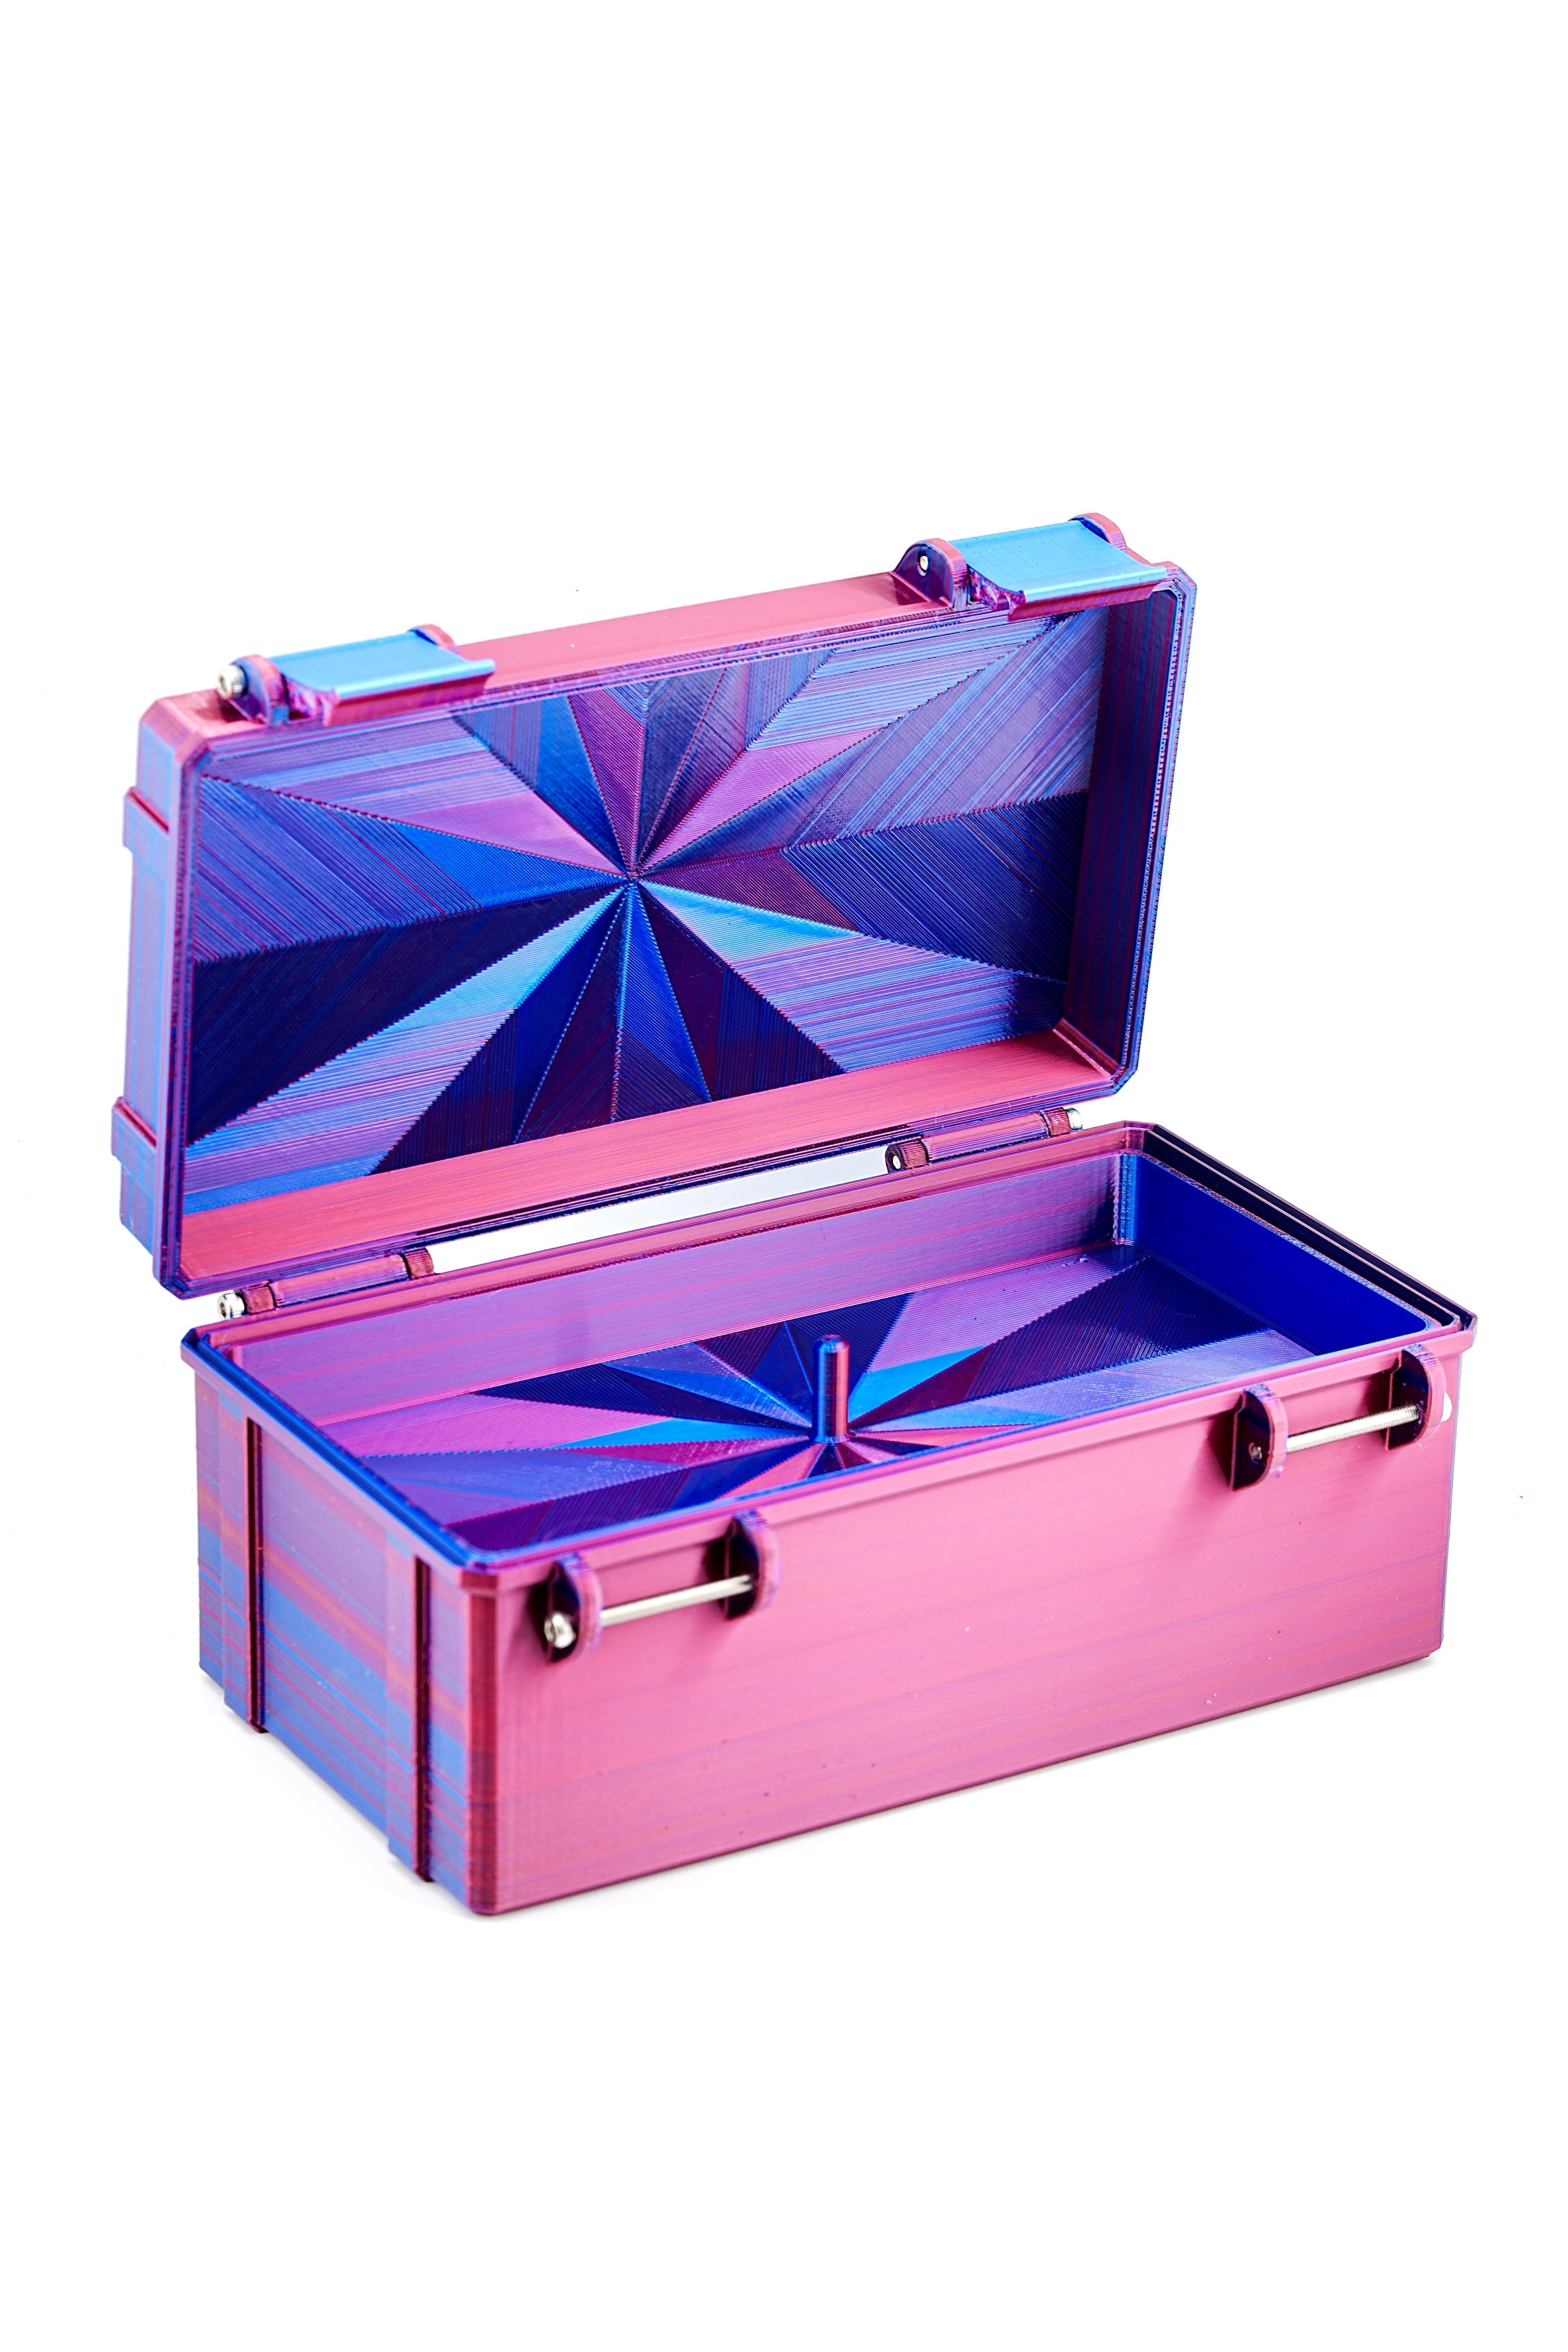
Large stock cases rarely match a real inventory: too many 3 mL slots, not enough 10 mL ones, no place for the bottle. In the PeptideCase™ builder you start with an empty case, tap "Add item" and enter each vial type with its count, such as 10 mL vials for GLP-1, 3 mL or peptide vials, other size vials, a BAC water bottle, syringes, pens or pen cartridges, plus a custom space for an inventory card or anything else. Each item becomes its own fitted pockets or bay. Auto-arrange packs everything into the most compact layout; the tallest item sets the height and shorter vials stand on a raised floor so every top lines up at the rim. Big cases get a 5-knuckle hinge and two latches, and a case too big to print in one go is printed as two parts. Choose Wide or Deep to suit your shelf, and put "IN USE" or "BACKUPS" on the lid in a second color so the two cases never get confused. Lay out your large case