
There's endless content online about what to put in a first kit. We don't cover that — those decisions belong with a licensed provider. What almost nobody covers is the practical side that starts the day your first vials arrive: where they live, how you keep them from breaking, and how you stop three near-identical bottles from turning into a guessing game.
Get that right from day one and your setup grows with you. Get it wrong and you'll be digging through a fridge door full of loose, unlabeled glass within a month.
Design a case for your starter kit
Add the vials and supplies in your first kit; the builder lays out a hard case with a fitted slot for each and shows where everything sits.
Before You Buy Anything: Plan Where It Will Live
Beginners usually think about storage after the package shows up. Do it before. Three questions settle most of it:
- What does the label say? Follow the storage instructions on your product label or from your pharmacist or provider. If it says refrigerate, you need a reliable fridge spot before anything else.
- Where in the fridge? The back of the middle shelf is usually the most stable spot. The door is the worst. If the household fridge is crowded, a small dedicated fridge solves it — see our mini fridge picks.
- What will hold the vials? A hard case with a slot for each vial. Not the shipping box, not a zip bag, not a mug on the shelf.
The Beginner Storage Checklist
A complete starter setup is short and inexpensive. You need:
- A hard case with a fitted slot for every vial, plus room for anything else you keep with them (syringes, alcohol pads, a BAC water bottle).
- Labels and a fine-tip permanent marker that survive fridge moisture.
- Colored caps or colored stickers, one color per product.
- A fridge thermometer with min/max memory, so you know your spot holds the range on your label.
- A small cooler and gel pack for travel days, if your label calls for refrigeration. The case itself is not a cooler.
Start With a Slot Map
The easiest habit to build is the one you start with. Before the first vial goes in the case, decide where each product lives and write it down: front row for vials you're using now, back row for unopened backups, one end for any larger bottle. Every vial goes back to the same slot every time.
After a week, your hand goes to the right slot without thinking. That's the whole point: when you're tired or in a hurry, position does the remembering for you. Our guide to organizing several vials goes deeper.
Label Everything From the First Vial
Most beginners skip labels because they "only have two vials." Two clear vials with the same white caps are exactly when labels matter. On each vial, on the glass rather than the cap, write a short code for what's in it and the date you opened it. Copy any use-by date from the pharmacy label next to it. Add a color, and you can tell vials apart before you read a word.
More ideas in our guide on how to label peptide vials.
Color-code your vials
Custom snap-on caps for 3 mL or 10 mL vials, with a cap color plus an icon or letters. Sets from 25 caps.
Plan for Your Kit to Grow
Starter kits rarely stay starter kits. A case that fits two vials perfectly is full the day a third arrives, and then vials start living loose next to it. Plan for that:
- Leave a little room — one or two spare slots, not twenty. Too many empty slots let vials slide around.
- Think about sizes — a 10 mL bottle needs a bigger, deeper slot than a 3 mL vial. See our guide to 3 mL vs 10 mL vials.
- When the kit changes, change the case — rather than squeezing a new vial into a slot made for something else.
The 5 Biggest Beginner Storage Mistakes
- The fridge door. It's the warmest, most variable spot in the fridge, and vials there get knocked around every time it opens.
- Loose vials. Glass that can roll will eventually roll off something. Every vial needs its own slot.
- No labels. "I'll remember which is which" lasts about a week.
- Leaving vials out. Take the case out, use what you need, put the case back. Nothing lives on the bathroom counter.
- No travel plan. Tossing vials into a gym bag or suitcase is how most of them break. Travel in a hard case, in your carry-on, inside a cooler if your label calls for refrigeration.
Make Your Own Custom Case for Your First Kit
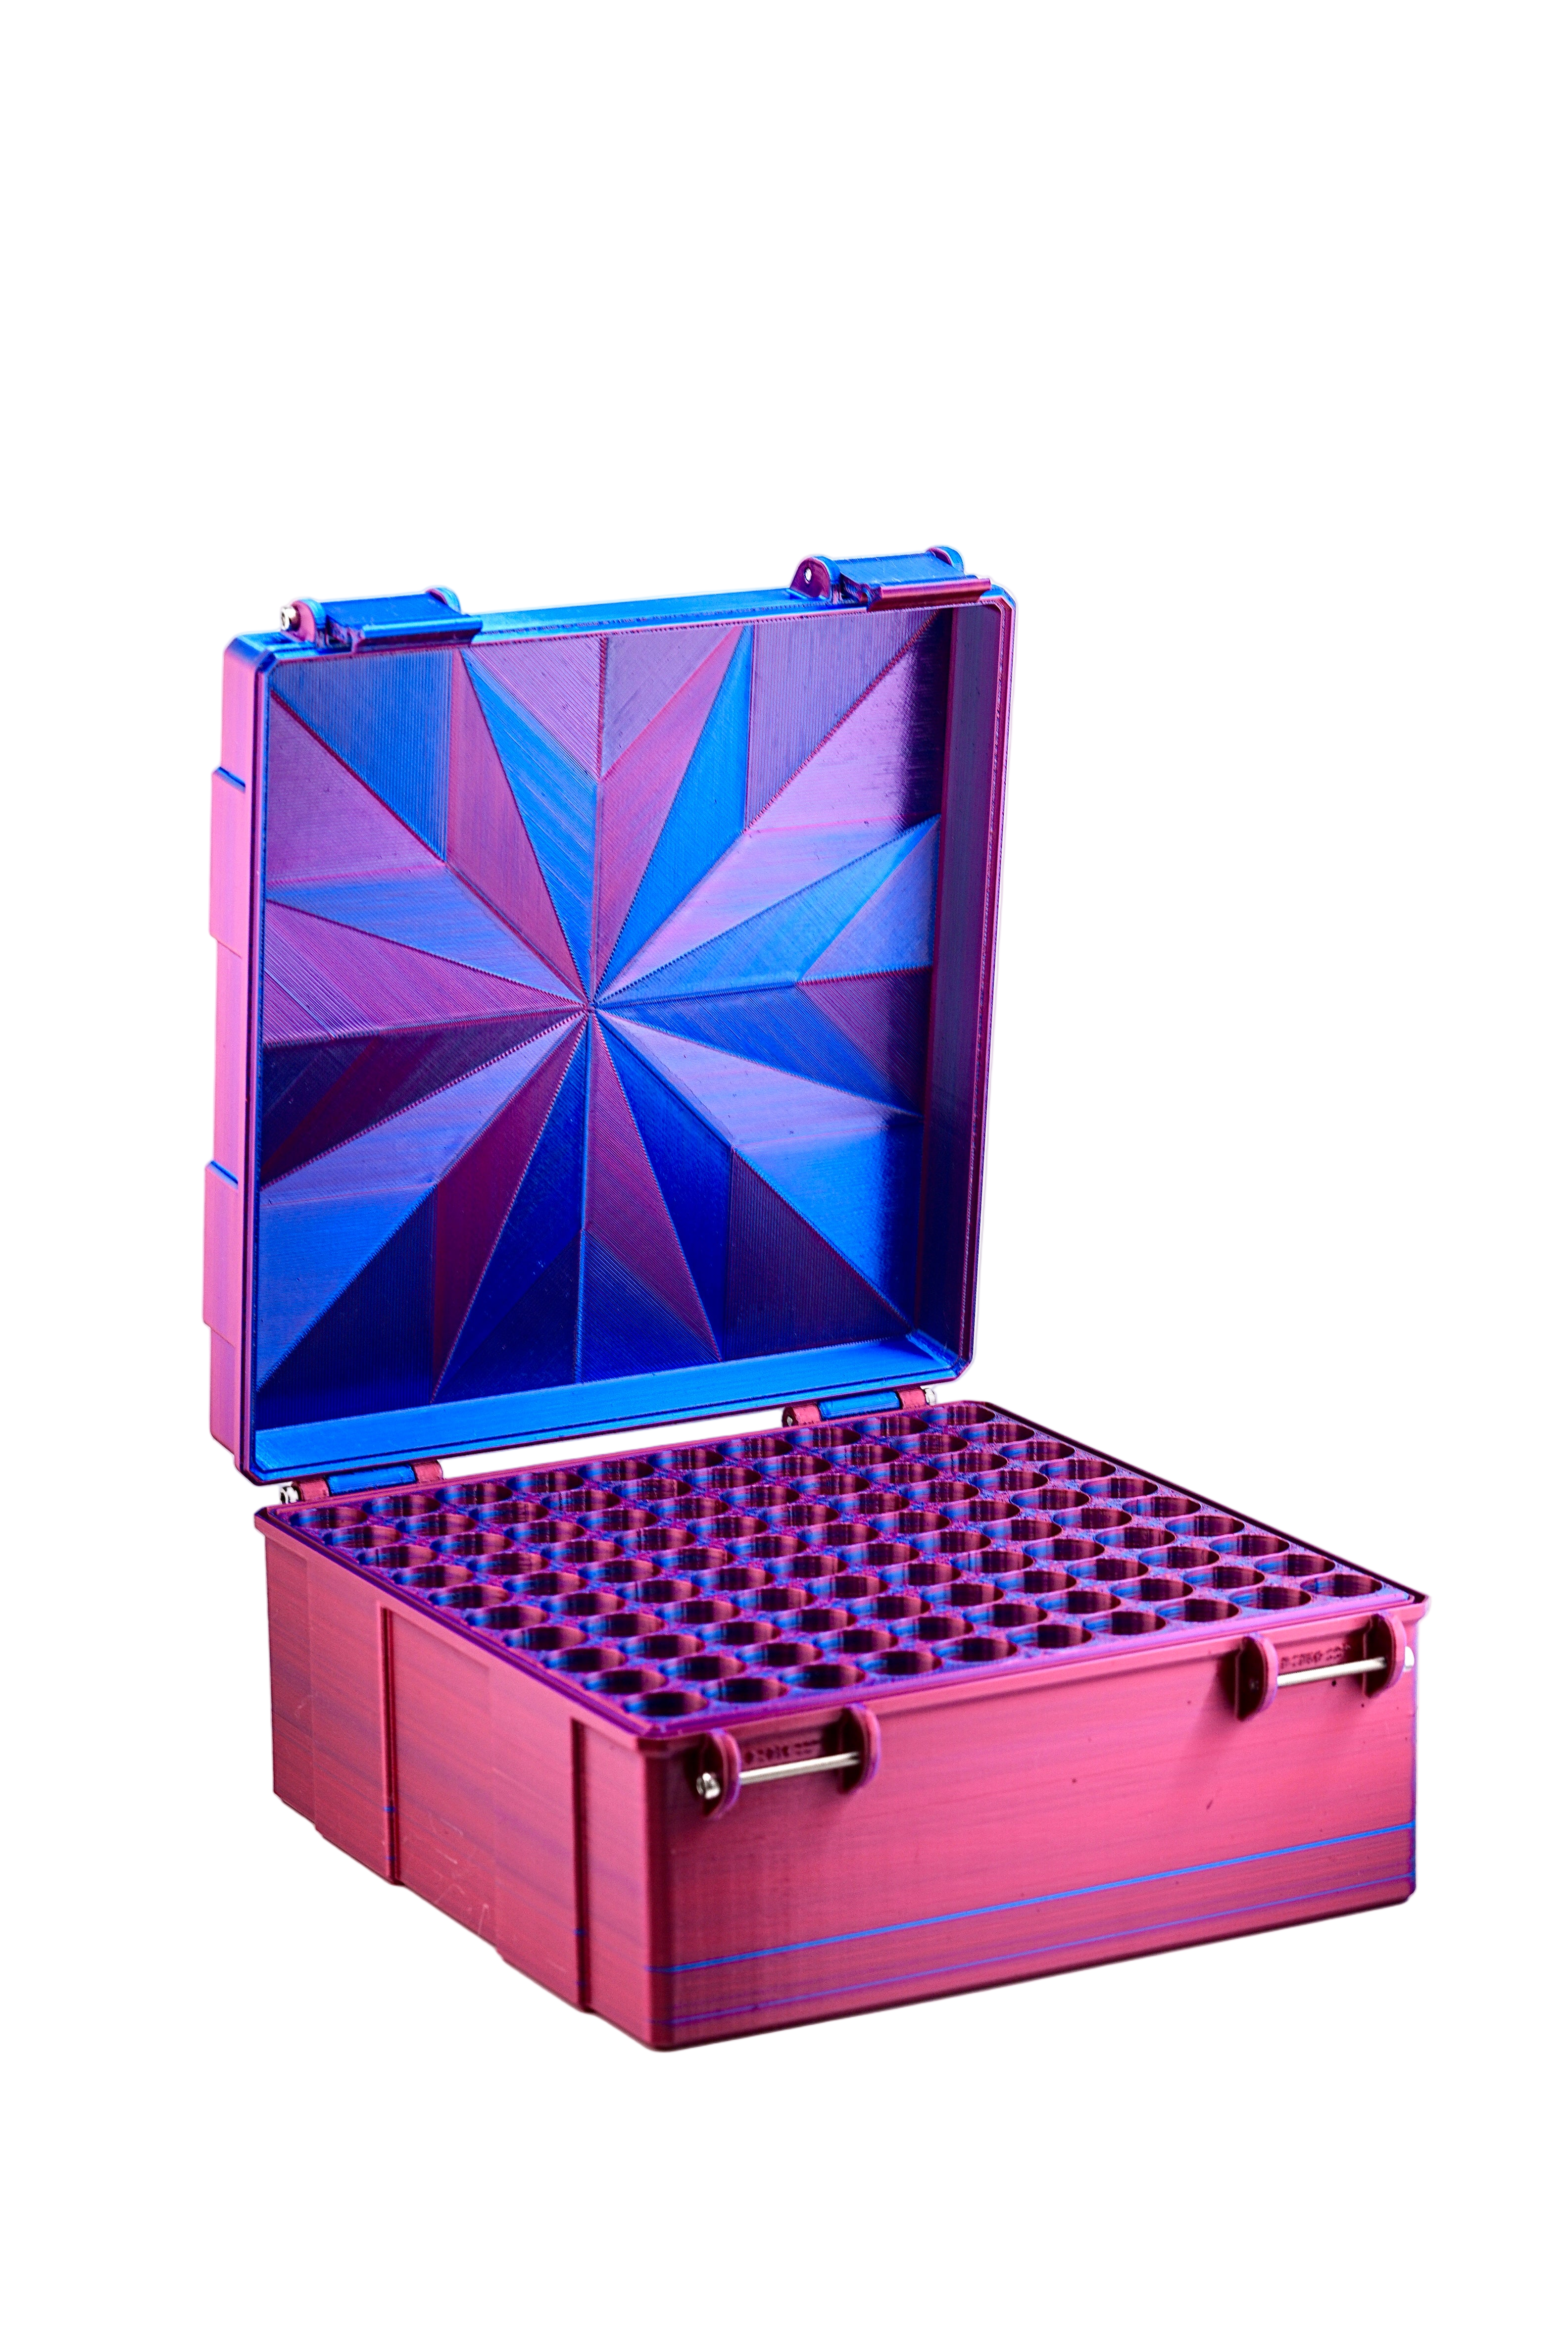
A beginner's kit is small and specific, which makes it a perfect fit for a case designed around it. In the PeptideCase™ builder you start with an empty case, tap "Add item" and pick what you have — peptide vials, 3 mL vials, 10 mL vials, a BAC water bottle, syringes, alcohol pads — and how many of each. Each item becomes fitted pockets or an open bay sized for that many, so nothing rattles and nothing is left loose.
Auto-arrange packs everything into the most compact layout, and the builder shows the case size, height and a top view — effectively your slot map, drawn for you. Shorter vials stand on a raised floor so every top lines up at the rim, each with a finger scoop. Pick Black or RGB Metallic, and print your initials or an icon into the lid so the case is unmistakably yours.