
We make storage cases, so you won't find claims here about what any compound does for your face, skin or body; that conversation belongs with a licensed provider.
What we can help with is a problem almost everyone in this space runs into: the kit. People who search for jawline peptides tend to end up with several vials at once, in different sizes, with different label instructions, plus syringes and alcohol pads. That's a lot of small glass to keep safe, labeled and in order. Here's a simple system for it.
Design a case for your multi-vial kit
Add every vial and supply you keep, in any combination of sizes. The builder fits them into one compact hard case with a pocket for each.
Why Multi-Vial Kits Get Messy Fast
One vial is easy. Four or five is where things fall apart:
- Lookalike vials. From above, in a dim fridge, small vials with similar caps are hard to tell apart.
- Two sizes. A kit often holds both 3 mL and 10 mL vials, and most ready-made cases only fit one size.
- Different label instructions. Each product comes with its own storage instructions, and they don't always match.
- Different dates. Each vial has its own opened date and its own date on the label.
- Scattered supplies. Syringes in one drawer, alcohol pads in another, vials behind the leftovers.
None of that is hard to fix. It just needs a system and a case built for it.
Step 1: Inventory What You Actually Keep
Write down every vial in your kit: what it is, its size (3 mL, 10 mL or other), the storage instructions from its label, and whether it's open or a spare. Add the supplies you keep with them. This list becomes the blueprint for everything else, including your case.
Count spares honestly. A kit that holds five vials in use often has two or three backups waiting, and those need a home too.
Step 2: Give Every Vial a Fixed Position
The single most effective habit is fixed positions: each vial lives in the same pocket every time. You stop reading labels to find things, because you know where everything is. Group vials of the same kind together and keep spares in a separate row or a separate case so you never open a new one by accident.
Fitted pockets matter here. When each vial has its own spot, nothing rolls, glass never touches glass, and an empty pocket tells you instantly that a vial is out on the counter.
Step 3: Label and Color-Code
Every vial gets a label with what it is and the date you opened it, written on white label tape with a fine-point marker. Then add a color layer: a different cap color for each kind of vial lets you pick the right one from above without reading a word. Our guide to labeling vials covers tape, markers and label makers.
Color-code your vials
Custom snap-on caps for 3 mL or 10 mL vials, with a cap color plus an icon or letters. Sets from 25 caps.
Step 4: Keep Supplies With the Vials
A kit is only organized if everything you need is in one place. Syringes get their own trough, alcohol pads get their own slot, and they sit in the same case as the vials. No drawer hunts, no loose packets, and the whole kit moves as one when you travel.
Step 5: Follow Each Label for Storage
Different vials can have different storage instructions, so follow the instructions on each product label or from your pharmacist or provider. If they call for the fridge, keep the case on a main shelf, never in the door, and away from the back wall where some fridges run cold enough to freeze.
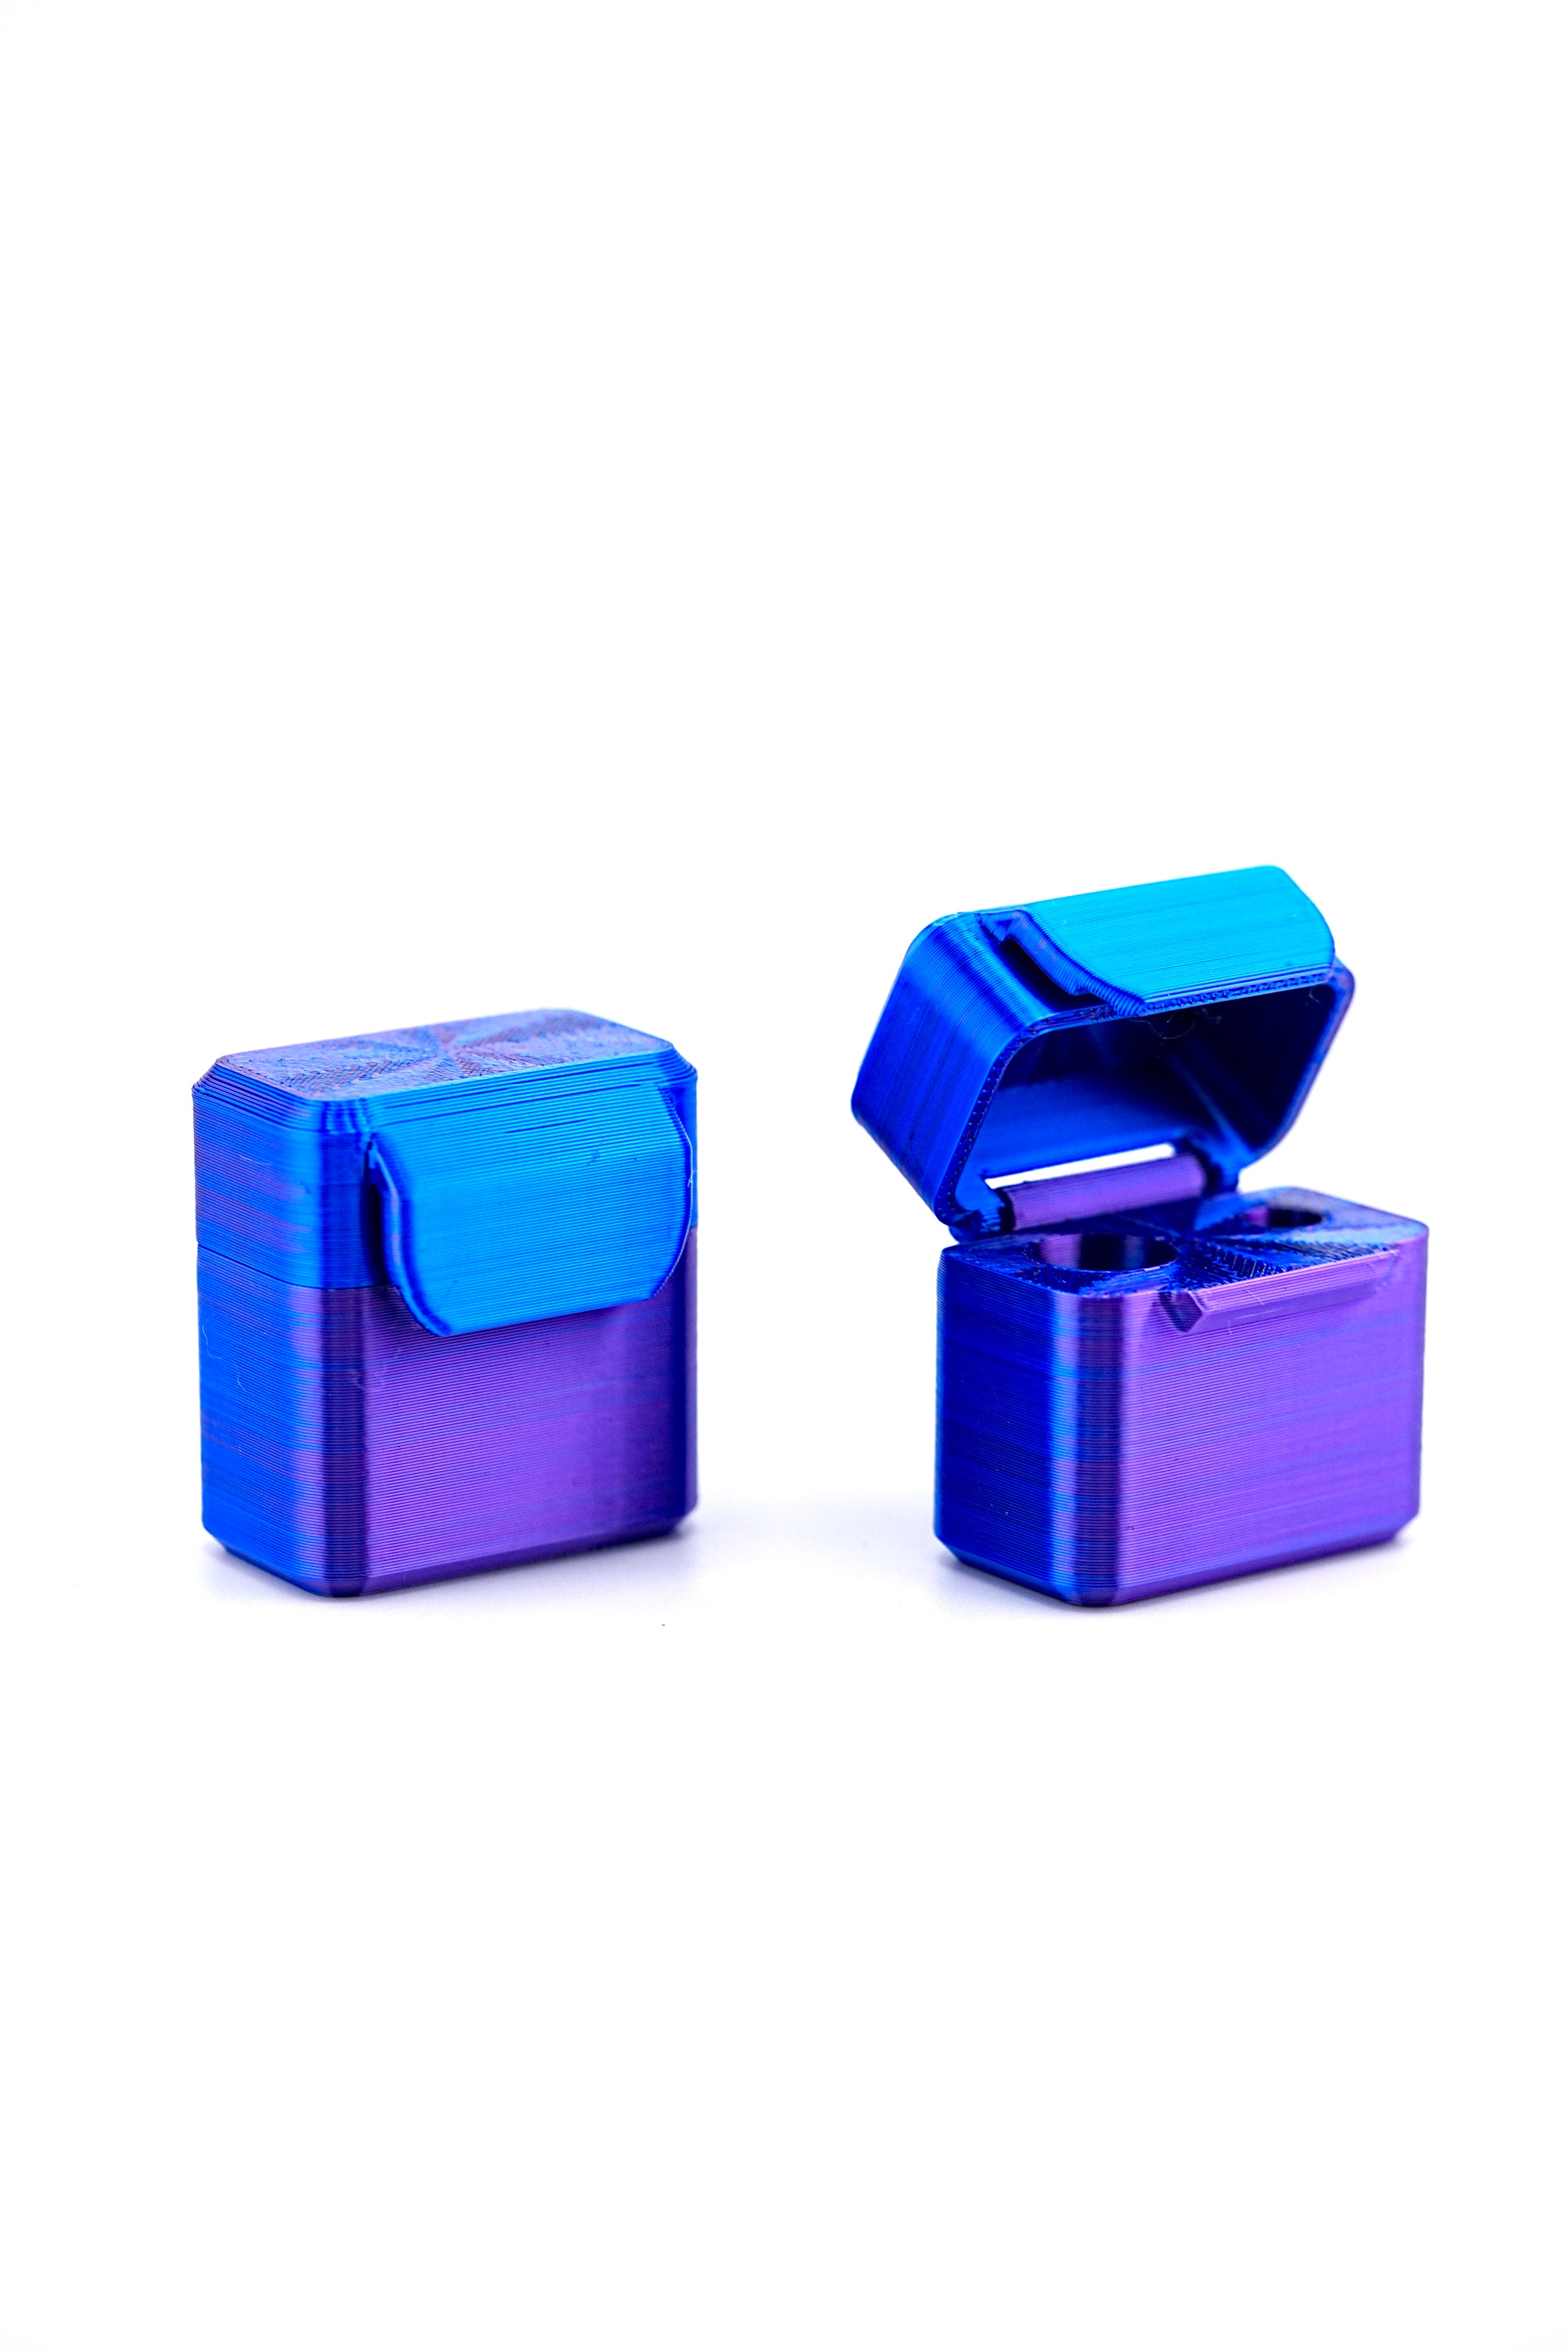
Remember that a hard case is a protective organizer, not a cooler. It keeps vials upright, separated and out of direct light when the fridge opens; the fridge, or a cooler bag with ice packs when you travel, does the cooling. See our fridge organization guide for placement ideas.
Step 6: Do a Two-Minute Weekly Check
Once a week, open the case and scan it:
- Any vial getting close to the date on its label? Plan to finish or replace it.
- Any cracks, chips, loose caps or faded labels? Set that vial aside and ask your pharmacist or provider.
- Running low on anything? Request refills before you run out.
- Supplies stocked for the week?
Two minutes, once a week, keeps a five-vial kit as easy as a one-vial kit.
Build your own custom multi-vial case
Your inventory from Step 1 is the perfect starting point for the PeptideCase™ builder. Start with an empty case, tap "Add item," and add each thing and how many: 3 mL vials, 10 mL vials, peptide vials, glutathione vials, other size vials, syringes, alcohol pads (flat or standing) and a BAC water bottle. Every item becomes fitted pockets or an open bay sized for that many, so 3 mL and 10 mL vials share one case.
The tallest item sets the height, and shorter vials stand on a raised floor so every top lines up at the rim, which makes a color-coded cap system easy to read at a glance. Every space has a finger scoop. Auto-arrange finds the most compact layout and shows the exact size, with top, lid and 3D views. Pick Black or RGB Metallic, single or dual latches, and add your initials or an icon to the lid.