
The difference between an organized injection kit and a disorganized one isn’t just looks. It’s the difference between a kit you can check in seconds and a search-and-scramble through the fridge, a kitchen drawer and the bathroom cabinet every time you need it. Whether you keep peptide vials, GLP-1 vials or pens, or a TRT kit, the case that holds the whole kit decides how often something is missing when you reach for it.
Here are the 10 most common injection kit storage approaches, ranked by how well they keep a complete kit together, protected and easy to check.
Design one case for your whole kit
Add your vials, syringes, alcohol pads and water bottle, and get one hard case with a fitted home for every item.
#10 — Worst: Everything in a Junk Drawer
Vials in the fridge, syringes in a kitchen drawer, alcohol pads in a bathroom cabinet, the water bottle somewhere TBD. This isn’t a storage system — it’s the absence of one. Every time, you spend minutes collecting supplies that should all be in one place. Worse, when you’re running low on anything, you don’t notice until it’s gone. No system means no way to see what you have.
#9 — Paper Bag or Plastic Grocery Bag
Slightly better than scattered supplies: at least everything is in one place. A grocery bag hangs on the fridge door or sits on a shelf with vials, syringes and supplies loosely gathered inside. It’s mobile, which helps. It offers zero organization, zero protection for glass vials, and it tips over when you reach in. An emergency solution that many people use indefinitely because “it works.”
#8 — Shoe Box
A dedicated shoe box for the kit is a real step up from the previous two. Everything in one box, on a shelf or in the fridge. The problems: cardboard absorbs fridge moisture, there are no compartments so supplies all tumble together, and you can’t see what’s running low without digging. A workable stopgap for someone who just started and hasn’t set up a real system yet.
#7 — Large Zippered Pencil Case
Zippered fabric pencil cases are a common starter kit. Compact, portable, and at least they keep supplies contained. The problems for a complete kit: not tall enough for 10 mL vials unless they lie down, no structure to stop vials tipping, and the fabric lets light through. For syringes and accessories only (with vials kept separately in the fridge), it’s a functional accessories pouch. As an all-in-one kit case, it falls short on vial protection.
#6 — Hard-Shell Makeup or Cosmetic Case
Hard-shell latching cosmetic cases have tray inserts, a rigid exterior, and enough room for a full kit. The problems are familiar: clear or tinted panels keep out little light, there’s usually no padding, and the compartments are sized for cosmetics, not vials and syringes. Still, among improvised options, a hard cosmetic case with adjustable trays is one of the more functional ways to keep a kit together.
Pro Tip: Before each use, do a 30-second kit check: the vial is the right one and within any date your label or pharmacist gave you, and every supply bay has enough for today and the next time. It takes less than a minute and prevents the “I’m ready and I’m out of supplies” problem entirely.
#5 — Diabetic Supply Organizer Case
Cases made for complete diabetes kits — insulin vials, syringes, lancets and meter supplies — come closest to a dedicated kit case outside of peptide-specific products. Multiple compartments, hard shell, compact design. The mismatch is sizing: they are laid out around insulin supplies, and insulin vials are shorter than 10 mL peptide or TRT vials. Check the dimensions against your own vials and supplies; some models fit well, others don’t.
#4 — Multi-Compartment Opaque Hard-Shell Case
An opaque hard case with fixed or adjustable compartments. Set up well, it can hold two or three vials, several syringes and accessories. There are no fitted vial slots, so vials lean on compartment walls instead of sitting in their own pockets. A solid general-purpose choice for a clean kit that doesn’t need anything purpose-built.
#3 — Lockable Medical Supply Case
For homes with children, teenagers, or anyone who shouldn’t have unsupervised access to medication and sharp supplies, a lockable case isn’t optional — it’s necessary. Key-lock or combination hard cases with internal organization add security to kit management. The tradeoff is usually weaker organization inside (simple dividers, no fitted vial slots). If security matters, look for a lockable case that also holds vials properly.
#2 — Multi-Slot Foam Case + Separate Accessory Pouch
A foam vial case for the vials in the fridge, plus a small zippered pouch kept with it for syringes and alcohol pads. This two-piece system protects the vials well while keeping the rest of the kit nearby. The friction point: two pieces to manage instead of one, and the pouch has a habit of wandering off. For complex kits with lots of accessories, it does keep clutter out of the main case.
#1 — Best: A Custom Kit Case You Design Yourself (PeptideCase™ Builder)
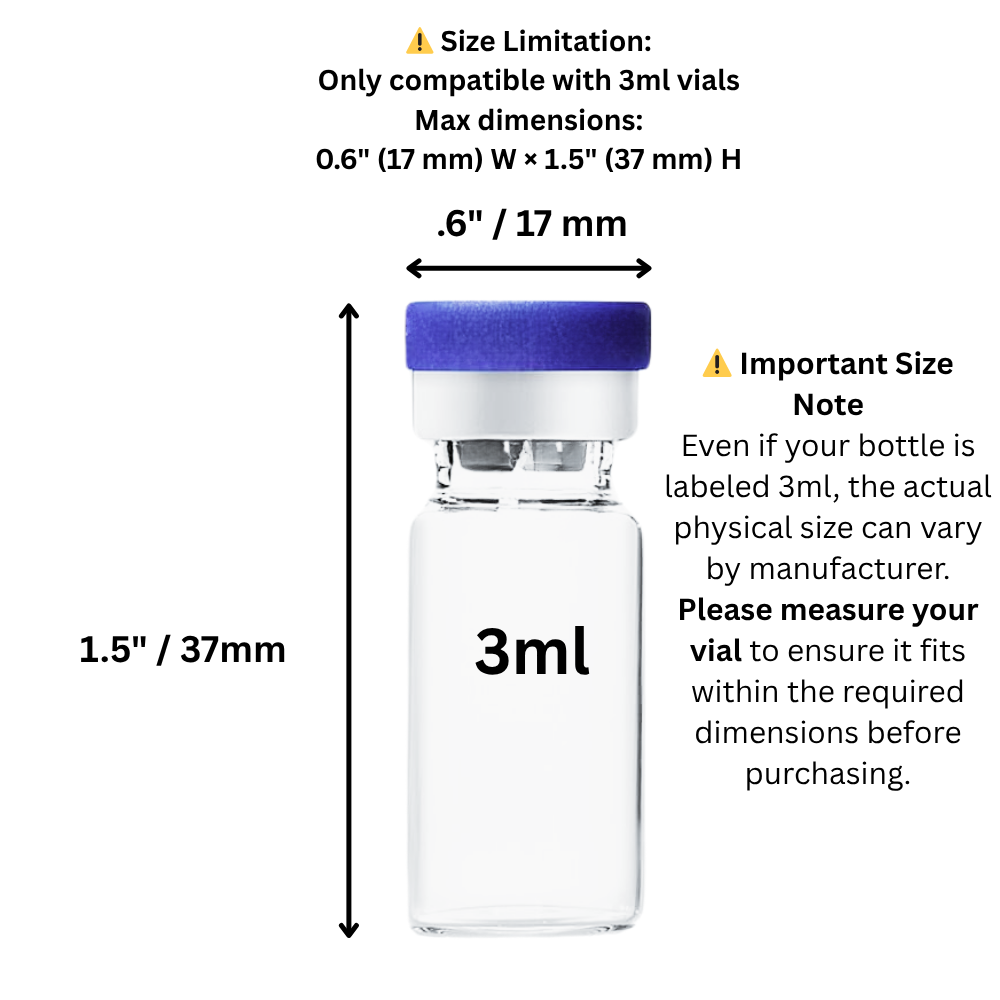
The ideal kit case holds vials and supplies in one system, sized for exactly what you use. In the PeptideCase™ builder you start with an empty case, tap “Add item,” and pick what you carry and how many: 3 mL or 10 mL vials, peptide or TRT vials, a BAC water bottle, syringes, alcohol pads (flat or standing), a pen or pen cartridges, or a custom space you size yourself. Every item becomes fitted pockets or an open bay sized for that many, and every storage space has a finger scoop. Lift it out of the fridge and everything is there; put it back in one move.
The tallest item sets the case height, and shorter vials stand on a raised floor so every top lines up at the rim. Auto-arrange packs the kit into the most compact layout, and the builder shows the exact size with top, lid and 3D views. The print-in-place snap hinge and locking latch keep it shut. It’s a protective organizer, not a cooler — it sits wherever your label says the vials belong. Design your kit case →
Pro Tip: Give spare supplies their own bays in the case: a few extra syringes and alcohol pads, and a spare water bottle if you use one. Restocking then happens before you run out, not after. When a spare bay empties, add it to your shopping list right away.
What a Complete Kit Case Should Hold
Every kit is different, so list what you actually use before choosing a case: the vial or vials (and their sizes), a water bottle if you use one, syringes or a pen with its cartridges, alcohol pads, and a small sharps container for used needles. If any of these isn’t in the case, it’s the one that will be missing. An organized case makes gaps visible before they become problems. A custom space in the builder can be sized for anything unusual, like a compact sharps container. See our peptide supplies checklist for a fuller list.
Make your own custom injection kit case
A kit case only works if every part of the kit has a home, and the easiest way to guarantee that is to design the case around your list. Open the builder, start with an empty case, and add each part with its count: your vials by size, syringes, alcohol pads, a BAC water bottle, a peptide pen, injector pen or pen cartridges, and a custom space where you enter the width, depth and height of anything else.
Auto-arrange finds the tightest layout, and the top, lid and 3D views show exactly how it opens and what it holds before you order. Choose Black or RGB Metallic, a Wide or Deep shape, and one or two latches; big cases get a 5-knuckle hinge and two latches automatically. Add text or an icon to the lid so the kit is easy to spot. Custom cases are printed to order in the US and are final sale, with printing defects still replaced. Lay out your kit case