
Why Most Supply Lists Miss the Storage Side
Search "peptide supplies" and you'll find long lists of things to buy, with almost nothing about where any of it lives once it's home. That's the part that actually goes wrong: vials rolling around the fridge door, supplies scattered across three drawers, labels that smudge, and no idea whether the fridge is holding the temperature on your label.
This checklist covers the storage and organizing side: the handful of items that keep vials intact, findable and labeled, and one case that holds the whole kit. For what goes in the vials and how it's used, talk to your pharmacist or provider.
One case for your vials and supplies
Add your vials, syringes, pads and water bottle in the counts you keep, and the builder lays out one compact hard case that holds it all.
The Storage Essentials (Don't Skip These)
1. A hard-shell vial case
The foundation of the kit. Glass vials crack when they roll off a counter or get knocked over in the fridge door. A rigid case with a fitted pocket for each vial keeps them upright, separated and protected, and gives every vial a fixed home so you always know where it is. It's a protective organizer, not a cooler; it sits inside the fridge or a cooler wherever your label says the vials belong.
2. A Bluetooth fridge thermometer
One of the best small investments for anything that lives in the fridge. Bluetooth models log the temperature around the clock and can alert your phone if it drifts outside a range you set, which catches a door left ajar or a power blip while you're away. Set the alert to match the storage range on your product label.
3. Write-on vial labels
Write what the vial holds and the date you received or opened it, and keep the original pharmacy or product label readable. Write-on labels that survive fridge condensation end the "wait, which one is this?" guesswork. Labeling fixes one of the most common problems in our storage mistakes guide.
4. An insulated travel cooler and cold packs
For travel, or for a power outage, an insulated cooler with cold packs is what keeps things cold; the hard case inside it handles the shock protection. Pick one your vial case fits inside. Our guide to travel coolers compares options.
5. A dedicated fridge spot
Not a product, but just as essential: one interior shelf spot, toward the back and away from food, where the case always lives. The door shelf is the most jostled spot in the fridge; skip it.
6. A simple inventory log
A notebook or spreadsheet listing each product, how many vials you have, when each arrived, and its expiration date. It tells you what to reorder before you run out and which vial to use first.
Give Every Supply a Home
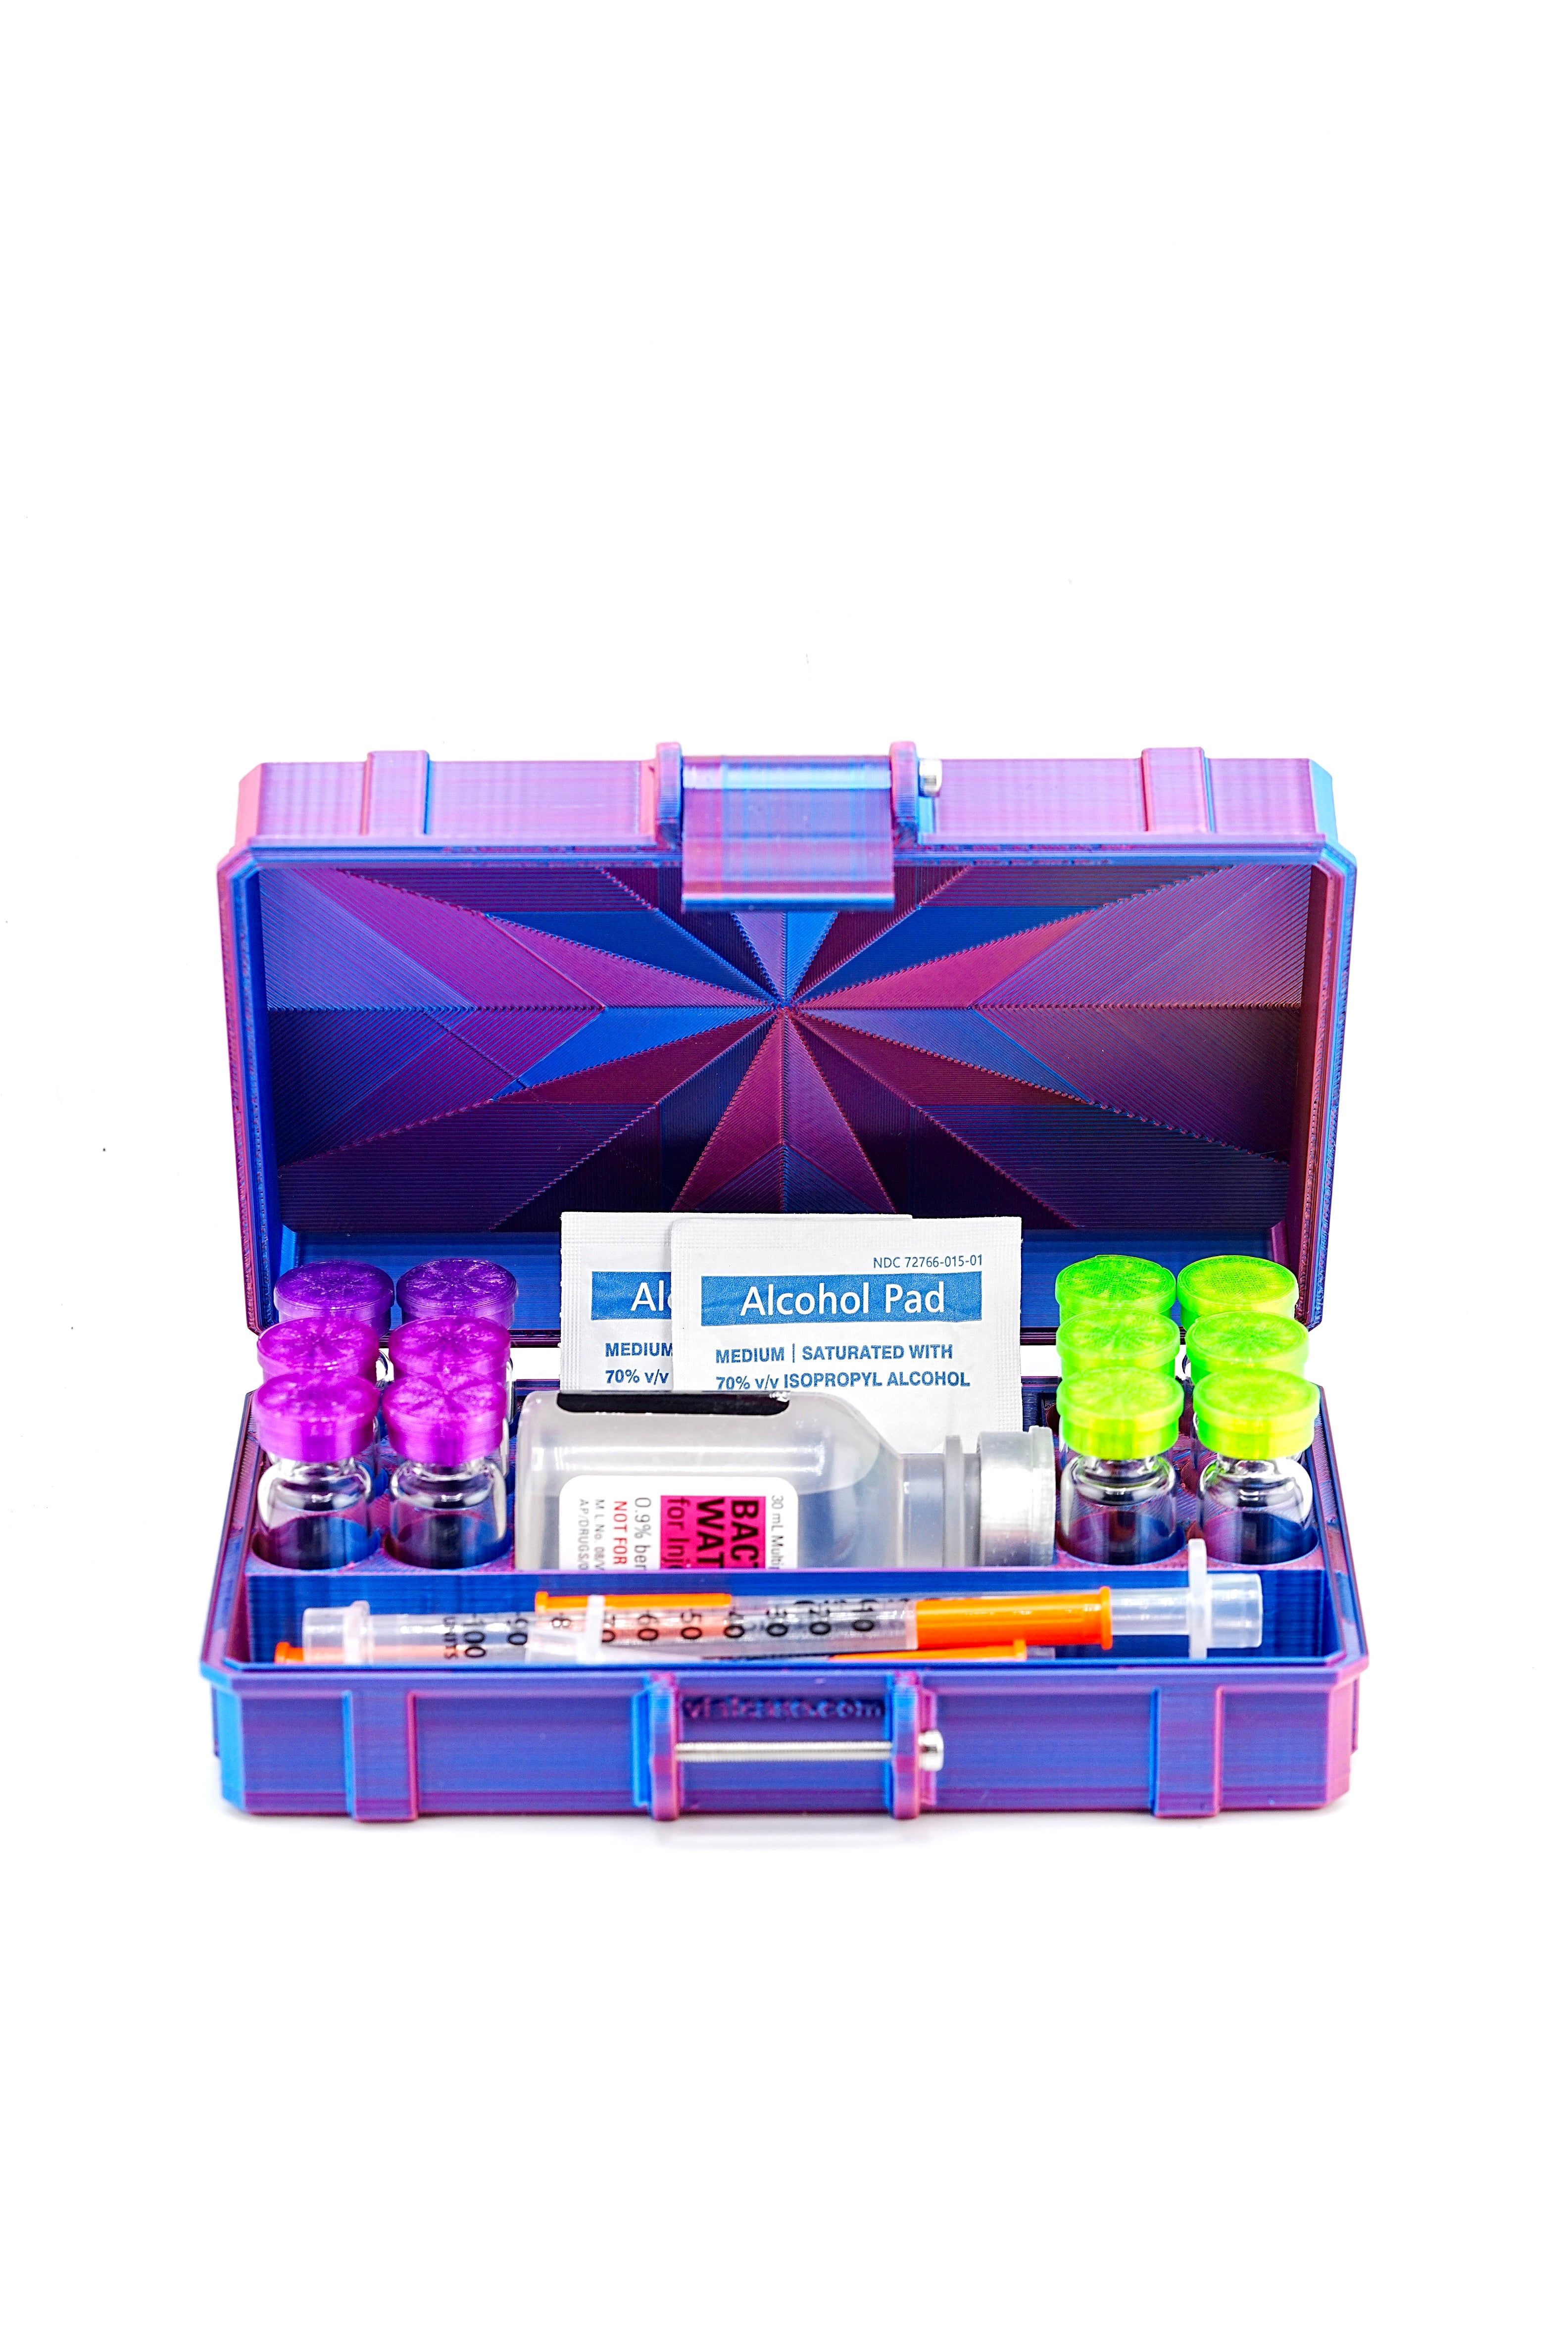
If you also keep syringes, alcohol pads or a sterile water bottle, the biggest upgrade is putting them in the same case as the vials instead of a drawer, a bag and a cabinet. Keep each supply sealed in its original packaging, and give it its own space:
- Syringes lie flat, so they need a trough rather than a vial pocket.
- Alcohol pads fit best in a shallow bay, either flat or standing on edge.
- A sterile water bottle is taller and wider than a vial and needs its own bay.
- Pens or pen cartridges need a long space of their own.
One case means one thing to grab, one thing to pack, and nothing missing when you need it.
Nice-to-Have Upgrades
- Color-coded caps. Once you keep two or three different products, a cap color per product lets you tell vials apart at a glance.
- A second case for backups. Keep unopened backup vials in their own case so they never get confused with what's in use.
- A mini fridge. Only if your kitchen fridge is crowded or unreliable. See our roundup of mini fridges for vial storage.
Color-code your vials
Custom snap-on caps for 3 mL or 10 mL vials, with a cap color plus an icon or letters. Sets from 25 caps.
What to Skip
- Soft pouches and zip bags. No crush protection, nothing holding vials upright, and glass knocks against glass.
- Makeup and tackle boxes. Rigid, but the compartments aren't sized for round vials, so they slide and chip.
- Oversized cases. A forty-slot case for a four-vial kit is bulky in the fridge and something you'll never travel with.
- The bathroom cabinet. Steam and heat from showers make it one of the worst storage spots in the house.
- The fridge door. Use an interior shelf instead.
Build your own custom case for your whole supply kit
Most ready-made cases hold vials and nothing else, or come with a fixed accessory tray that doesn't fit what you actually carry. The PeptideCase™ builder lets you design a case around your entire kit. Start with an empty case, tap "Add item," and pick what you keep: 3 mL vials, 10 mL vials, peptide vials, other size vials, syringes, alcohol pads (flat or standing), a BAC water bottle, a peptide pen, pen cartridges, or a custom space you size yourself, plus how many of each.
Every item becomes fitted pockets or an open bay sized for that count, and Auto-arrange packs everything into the most compact layout. The tallest item sets the case height; shorter vials stand on a raised floor so every vial top lines up at the rim, and every space has a finger scoop. The builder shows the case size and a 3D view before it's printed to order in the US. Design a case for your full kit
Starter Storage Checklist (in Priority Order)
- Hard-shell vial case sized to your kit
- Bluetooth fridge thermometer with an alert
- Write-on vial labels
- A dedicated interior fridge shelf spot
- Insulated travel cooler and cold packs
- Inventory log
- Color-coded caps and a second case for backups (optional)
Bottom line: The storage side of your supplies is a short list: a good case, a thermometer, labels and a cooler for travel. Get those right and everything else has a home.