
What a Storage Guide Should Actually Cover
Search for a storage guide and you will find pages full of temperatures, day counts and prep steps. This one skips all of that on purpose. Storage conditions are set by your product label and by your pharmacist or provider, and those are the instructions to follow. What is left — and what most vial losses actually come from — is the physical side: glass that cracks, vials that tip and roll, labels that fade, and kits that get split between the fridge, a drawer and a gym bag.
So this guide is about the case and the habits around it: keeping vials out of the light, keeping two or more kinds of vials apart, dating everything, setting up the fridge, and traveling without breaking anything.
Design a case that keeps every vial apart
Add each kind of vial you keep, give each group its own fitted pockets, and see the finished case in 3D before you order.
Temperature: The Label Is the Rule
Whatever you read elsewhere, the temperature that matters is the one on your label. Store vials exactly as it says, and ask your pharmacist or provider if the label leaves anything open, such as how long a vial is good for once opened.
A case does not replace the fridge, and it is not a cooler. It is a protective organizer: at home it sits on a fridge shelf with your vials inside, and when you travel it goes inside an insulated cooler bag with a gel ice pack. The case keeps the glass safe and the kit together; the fridge or cooler handles the cold.
Light: Why Amber Vials Aren't the Whole Answer
Many vials come in amber glass, and many labels say to protect the contents from light. Amber glass filters part of the light that reaches it, but it does not stop it. Every time the fridge door opens, the bulb shines straight onto anything sitting loose on the shelf.
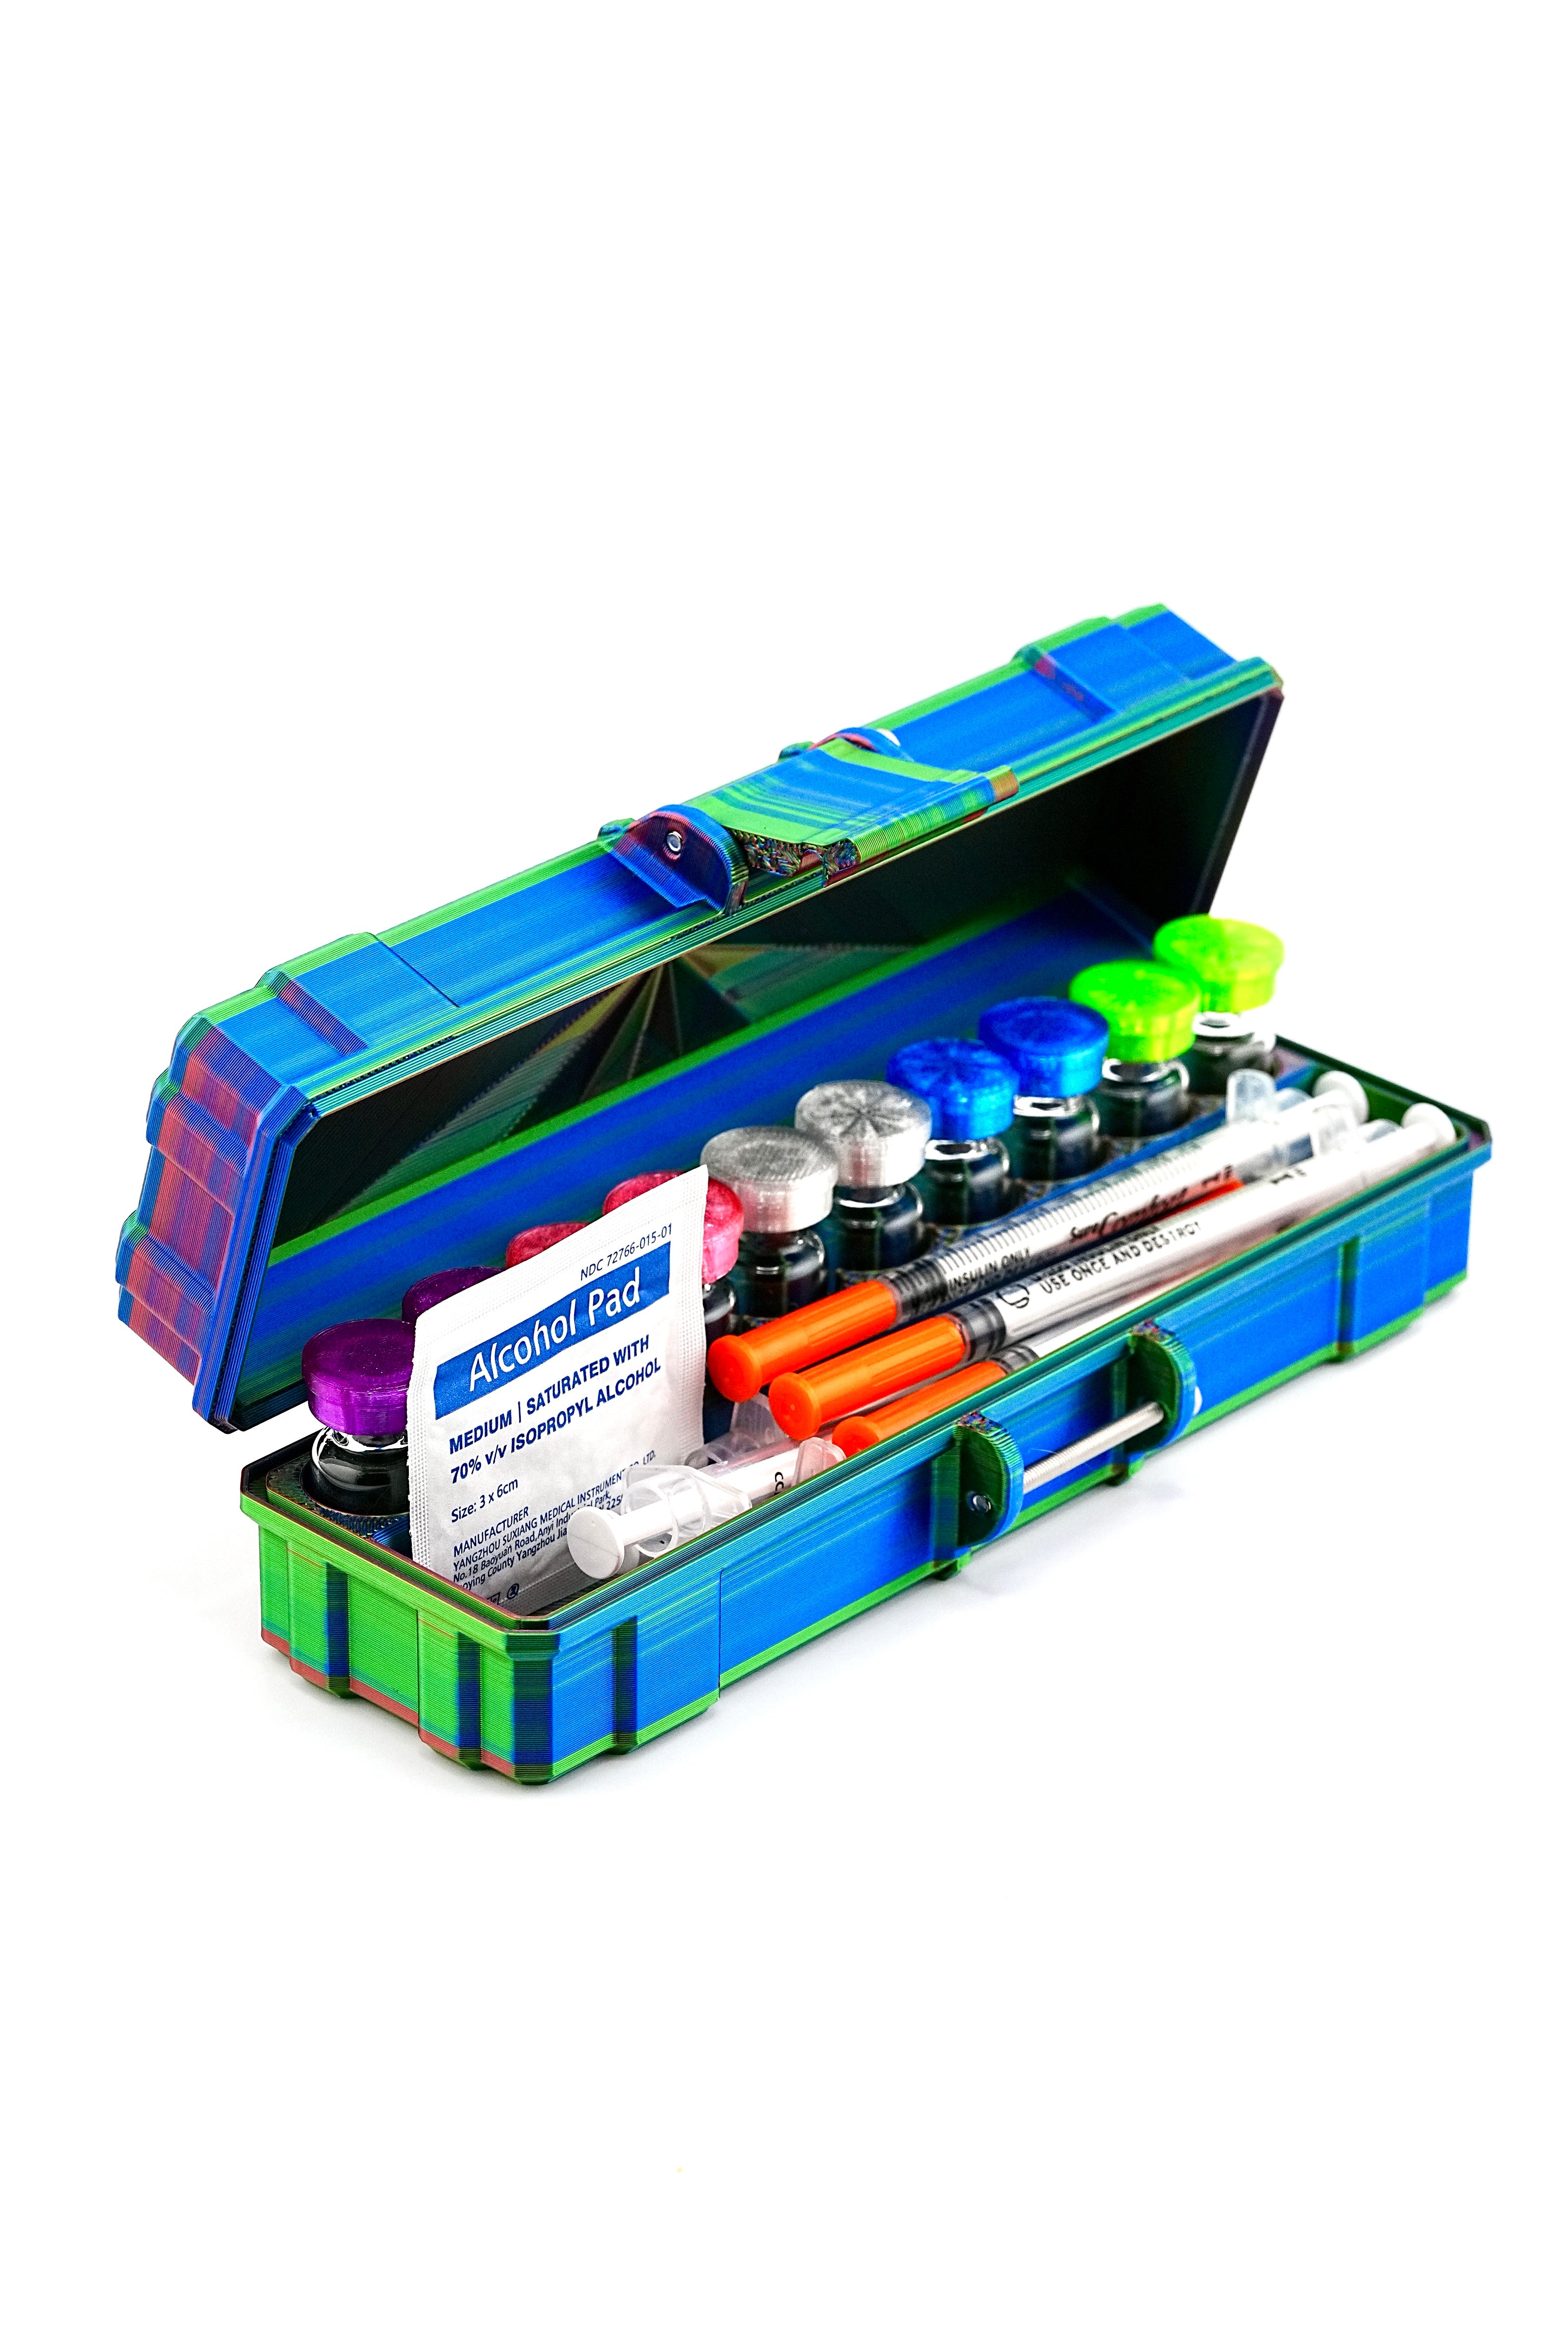
A closed hard case solves that without any effort. With the lid shut, vials sit in their pockets out of the light, whatever color the glass is. You open the case, take the one vial you need, and close it again.
Keeping Two Kinds of Vials Apart
Many people keep more than one kind of vial at a time, often in the same size of glass with similar-looking labels. That is where confusion starts: two 3 mL vials side by side, one label half rubbed off, and a fridge light that makes everything look the same.
- Give each kind its own pockets. Decide which pockets hold which vial and keep it that way, so your hand goes to the right one without reading.
- Use color-coded caps. One cap color per kind of vial is the fastest visual check there is, even at arm's length in a dim fridge.
- Label the side and the cap. A side label tells you what it is; a cap you can read from above tells you without lifting the vial out.
- Keep spares separate from the vial in use. Unopened spares go in their own pockets so the open vial is always obvious.
Color-code your vials
Custom snap-on caps for 3 mL or 10 mL vials, with a cap color plus an icon or letters. Sets from 25 caps.
Dating and Labeling
If your label or pharmacist gives you a date to track, such as the day you opened a vial, write it on the vial that day with a marker or a small piece of tape. A vial with no date is a guess. Vials that are used less often are the ones most likely to sit long enough for you to forget when they were opened, which is exactly why the date matters. Our guide on how to label peptide vials covers labels that stand up to fridge moisture, and our list of common peptide storage mistakes explains why undated vials top it.
Fridge Placement
Where the case sits matters almost as much as the case itself.
- Not the door. The door rack is the least stable spot in the fridge and the easiest place to knock a vial out.
- A middle shelf, toward the back. It is the steadiest zone in most home refrigerators and away from food traffic.
- Off the back wall. Some fridges run coldest near the cooling vent; if your label says not to freeze, leave a little gap.
- Closed and latched. A shut case keeps light off the vials and stops them tipping when someone slides the shelf out.
If you want to see what your fridge is doing, a small digital thermometer on that shelf helps, and the case builder offers a temperature sensor item for one.
Traveling With Your Vials
- Carry on. Keep vials with you in the cabin, never in checked luggage.
- Hard case inside, cooler bag outside. When your label calls for cold, pack the closed case inside an insulated bag with a wrapped gel ice pack so the pack never touches the glass.
- Paperwork. Keep vials in their original labeled packaging where possible and carry a prescription copy or provider letter. Check your airline's and destination's current rules yourself; our international travel guide covers documentation.
- Find the fridge on arrival. Check that your hotel or rental has one before you leave home, and move the case into it when you arrive.
- Never leave the case in a parked car.
Make your own custom case for two kinds of vials
If you keep more than one kind of vial, a case designed around that exact combination is the easiest way to keep them apart. In the PeptideCase™ builder, start with an empty case, tap "Add item" and add each group separately — for example peptide vials for one kind and 3 mL vials for another, plus 10 mL vials, a BAC water bottle, syringes or alcohol pads if they travel with the kit. Each item becomes fitted pockets or an open bay sized for that many, so every group has its own spaces.
The tallest item sets the case height and shorter vials stand on a raised floor, so every top lines up at the rim and your cap colors are visible at a glance. Auto-arrange packs it all into the most compact layout, and you can check the top, lid and 3D views before you order. Choose Black or RGB Metallic, Wide or Deep, and one or two latches, and add text or an icon to the lid. Then pair it with a set of custom caps. Lay out your two-kind vial case