
Traveling with vials makes different demands than home storage. Your case has to handle physical shock in transit, long stretches away from a fridge in security lines and hotel rooms, TSA questions, and the loss of your home fridge as a backup. The wrong setup turns a weekend trip into a scramble. Here are ten common travel storage approaches ranked, from least to most effective for real-world travel.
One rule before the list: a hard case protects and organizes vials, but it isn't a cooler. If your label calls for refrigeration, every setup below also needs a cold source and insulation.
Design the #1 travel case: yours
Add exactly what you fly with, plus space for a slim ice pack, and the builder packs it into the smallest hard case that fits.
#10: Worst: Packed in Checked Luggage
Not a case choice, but a placement choice that overrides every other variable. Checked bags face cold holds, hot tarmacs during delays, and rough baggage handling that can crack glass. The first rule of traveling with vials is non-negotiable: carry-on only, always. Whatever case you use is secondary to this.
#9: Soft Fabric Pouch (No Ice Pack, No Structure)
A fabric pouch in your carry-on provides no temperature management, no impact protection and no organization. Vials shift freely and rattle against each other through taxi, takeoff and turbulence. Fine for a short drive in a cool car. For a flight, it's not a serious travel solution.
#8: Zip Bag with Paper Towel Padding
A common improvised setup: vials wrapped in paper towel inside a zip bag. The paper towel offers a little cushioning and the bag keeps things together. For a short car trip, it's barely acceptable. For air travel with turbulence or a gate-checked bag, the paper towel compresses quickly and the vials end up loose. It isn't built for the stress of real travel.
#7: Basic Insulated Lunch Bag (No Ice Pack)
An insulated bag without a cold pack only slows warming; it doesn't cool anything. In a warm summer airport, an insulated bag without ice keeps its contents slightly cooler than the air for a few hours, then catches up. If your label calls for refrigeration, it isn't enough for a long travel day.
#6: Styrofoam Shipping Box Fragment
Repurposing a piece of the insulated box your order arrived in. Styrofoam is a real insulator when used with ice packs. The problems: fragments don't seal, they're bulky for what they hold, and they fall apart with handling. Functional once; not a repeatable travel system.
Pro Tip: TSA allows medically necessary liquids, and the supplies that go with them, in amounts over 3.4 oz. Tell the TSA officer before screening. Keep medication in its original labeled packaging and expect the occasional extra check. See our full TSA guide for the checkpoint walkthrough.
#5: Insulated Pouch with Single Slim Ice Pack
This is the minimum workable setup for flying with vials whose label calls for refrigeration. A soft insulated pouch with one slim reusable ice pack stays cold for several hours, depending on the weather and the pack. That covers many short domestic flights; longer trips need more. The weak spot is protection: most soft pouches have no fitted vial pockets, so the vials still need padding.
#4: Hard-Shell Case with External Cooler Bag
A two-layer solution: a hard-shell vial case inside an insulated cooler bag with ice packs. The hard case handles vial security and organization; the cooler bag handles temperature. This combination beats many soft "medical travel cases" that try to do both at once. The downside is bulk: a generic case plus a full-size cooler bag takes up much of a carry-on.
#3: Medical-Grade Insulated Hard Case
Cases sold specifically for medication transport, with a rigid exterior, internal foam and built-in insulation, are a step up. They handle impact, stay cold with their included ice packs, and look professional at security. The limitation: they're usually designed for pens or standard pharmacy vial sizes, so your vials may not fit well. A good category; check the dimensions carefully before you buy.
#2: FRIO Cooling Wallet + Hard Vial Case
FRIO cooling wallets use evaporative cooling to keep contents cooler than the surrounding air for a long time without refrigeration. They don't reach fridge temperatures, but they help prevent overheating in a warm car or a hot terminal. Used as a layer around a hard case, a cooling wallet is useful when your label allows time out of the fridge. It isn't a substitute for a cold pack when your label says to keep the product refrigerated.
#1: Best: A Custom Case You Design Yourself (PeptideCase™ Builder) + Quality Ice Pack
The best travel setup is a hard case sized to exactly what you carry, plus a quality slim ice pack and a thin insulated sleeve if your label calls for refrigeration. A custom case from the builder holds every vial in its own fitted pocket and wastes no space on empty slots, so case, pack and sleeve fit in the personal item under the seat. Vials stay upright and still through turbulence, and an organized kit is easy to show at security.
At the hotel, the case goes straight into the room fridge, with no repacking and no improvising. The same case handles home storage and travel.
Pro Tip: Gel ice packs can be questioned at TSA if they aren't frozen solid. On departure day, use a pack that's been in the freezer overnight. On a multi-day trip, refreeze it in the hotel freezer or buy a new one at a pharmacy at your destination. Ice packs are cheap and easy to find; replacement vials are not.
TSA Quick Reference for Vials
Medically necessary liquids are exempt from the 3.4 oz (100 ml) liquid rule. Tell the officer about them at the checkpoint; they may be screened visually or with a quick test. Ice packs are allowed if they're frozen solid when screened. Sealed sterile water and other medical supplies that go with your medication are allowed, and syringes are allowed when they're with your medication. Rules change, so check TSA's current guidance before you fly. For the full walkthrough, see our TSA guide.
Make your own custom peptide travel case
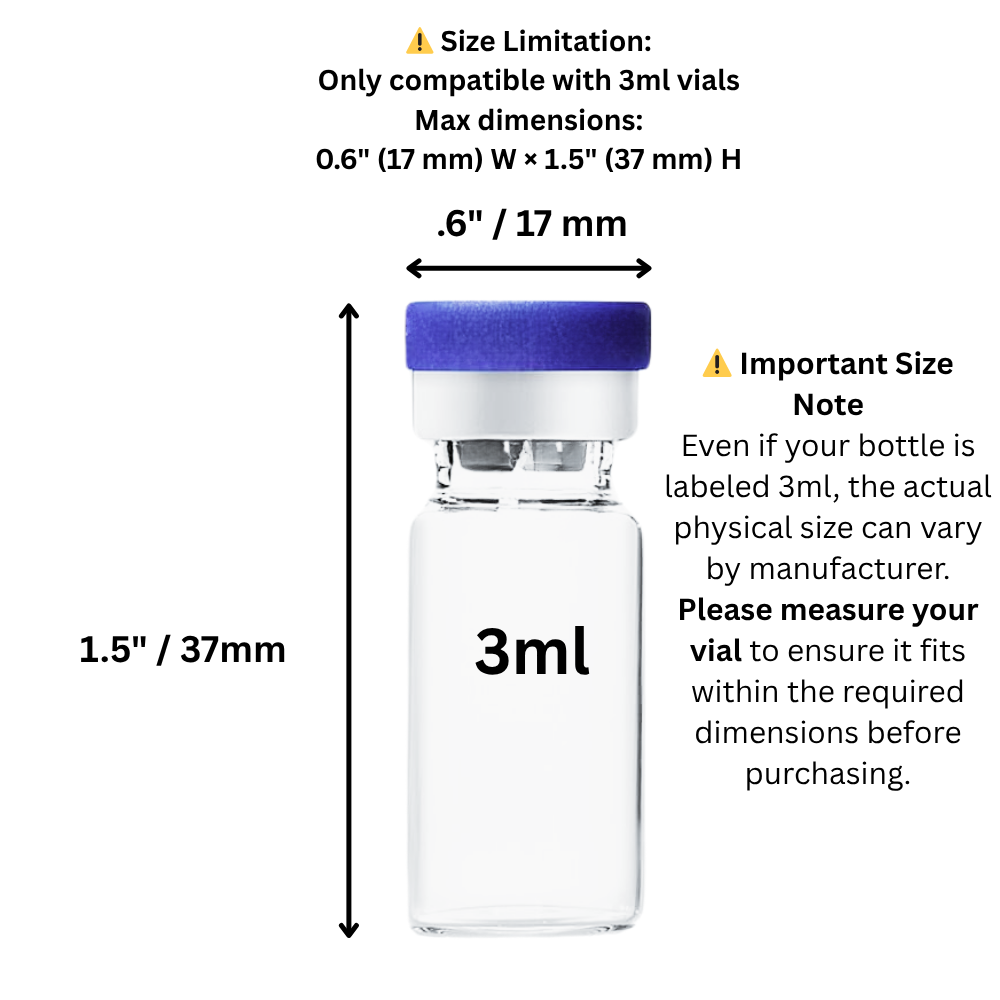
Most travel cases force a choice between too small and too bulky. The PeptideCase™ builder sizes the case to your trip instead. Start with an empty case, tap "Add item," and pick what you fly with: 3 mL vials, 10 mL vials, peptide vials, other size vials, syringes, alcohol pads, a BAC water bottle, a pen or pen cartridges, and how many of each. Need room for a slim ice pack? Add a custom space and enter its width, depth and height.
Every item becomes fitted pockets or an open bay sized for that count, and Auto-arrange packs it all into the most compact layout. The tallest item sets the case height; shorter vials stand on a raised floor so every vial top lines up at the rim. The builder shows the exact size plus top, lid and 3D views, and big cases get two latches. It's printed to order in the US. Build your travel case now