Before You Buy Anything: The Mindset
The biggest mistake beginners make isn't choosing the wrong peptide — it's trying to run everything at once. Looksmax.org is full of posts from guys running MT2 + Retatrutide + CJC/Ipa + GHK-Cu + BPC-157 in their first week. Here's why that fails:
- You can't isolate what's working. If you start 5 compounds simultaneously and get nauseous, which one caused it? If your skin improves, which peptide deserves the credit?
- Side effect stacking. Multiple compounds = multiple potential side effects hitting at once. Nausea from MT2 + appetite suppression from Retatrutide + GI distress from BPC-157 = a miserable first week that makes you quit
- Cost explosion. A full stack costs $300-500 in peptides alone, plus supplies. Starting with 1-2 compounds lets you validate the process before going all-in
- Storage overwhelm. Managing 5+ vials with different reconstitution dates, shelf lives, and dosing schedules is confusing when you've never handled a single vial
The Rule: Start with ONE compound. Run it for 4 weeks minimum. Learn the process — reconstitution, injection technique, storage, tracking results. Then add one more. Within 8-12 weeks, you'll have a full stack running smoothly because you understand each component individually.
Choose Your First Peptide Based on Your Goal
Your starting compound should match your #1 aesthetic priority:
Goal: "I Want Visible Results Fast"
Start with: MT2 (Melanotan 2)
- Fastest visible result of any peptide — noticeable tanning within 5-7 days
- Simple protocol — daily during loading (2 weeks), then weekly maintenance
- One vial lasts the entire loading phase
- Builds confidence in the injection process with quick positive feedback
- Visual transformation motivates adding more compounds later
Goal: "I Need to Lose Facial Fat"
Start with: Retatrutide
- Once-weekly injection — the simplest dosing schedule possible
- Dramatic facial fat loss by week 6-8
- One vial lasts 4-8 weeks depending on dose
- Easy to track results with weekly face photos
- The jawline gains alone make it worth starting here if fat loss is your priority
Goal: "I Want Better Skin and Hair"
Start with: GHK-Cu
- Improves skin quality, hair thickness, and overall tissue health
- Daily injection, but the compound is naturally occurring in your body — you're restoring, not adding something foreign
- Results compound over 6-12 weeks
- Built-in freshness indicator (blue color) helps you learn what degradation looks like
- If hair is your priority, this is the clear starting point
Goal: "I Want Anti-Aging and Recovery"
Start with: CJC-1295 + Ipamorelin
- Elevates your natural growth hormone — the foundation compound that makes everything else work better
- Improved sleep quality is often the first noticeable benefit (within days)
- Skin, hair, and recovery improvements build over 8-16 weeks
- Two vials to manage (CJC and Ipa), which teaches multi-vial handling before going to a larger stack
- Note: this requires 2-3 doses per day — more demanding than MT2 or Retatrutide for a first peptide
What You Need to Buy (Complete Beginner Checklist)
Before your first injection, you need these supplies. Don't skip any of them:
Peptides
- Your chosen peptide(s) — start with 2-3 vials of your first compound so you don't run out mid-protocol
- Source from a reputable vendor with third-party testing (COA — Certificate of Analysis). The looksmaxing community has preferred vendors, but do your own due diligence
Reconstitution Supplies
- Bacteriostatic (BAC) water: 30ml vial. NOT sterile water — BAC water contains benzyl alcohol preservative that keeps your reconstituted peptide safe for weeks. Sterile water has no preservative and must be used within 5-7 days
- Reconstitution syringes: 3ml syringes with 18G needles for drawing BAC water and injecting it into the peptide vial. You only need a few — these are just for mixing
- Alcohol swabs: For sterilizing vial tops and injection sites. Buy a box of 100 — they're cheap and you'll use them constantly
Injection Supplies
- Insulin syringes: 29G or 31G, 1ml, with fixed needles. These are what you inject with — thin enough to be nearly painless for subcutaneous injection. Buy a box of 100
- Sharps container: For safe needle disposal. Don't throw used syringes in the trash
Storage
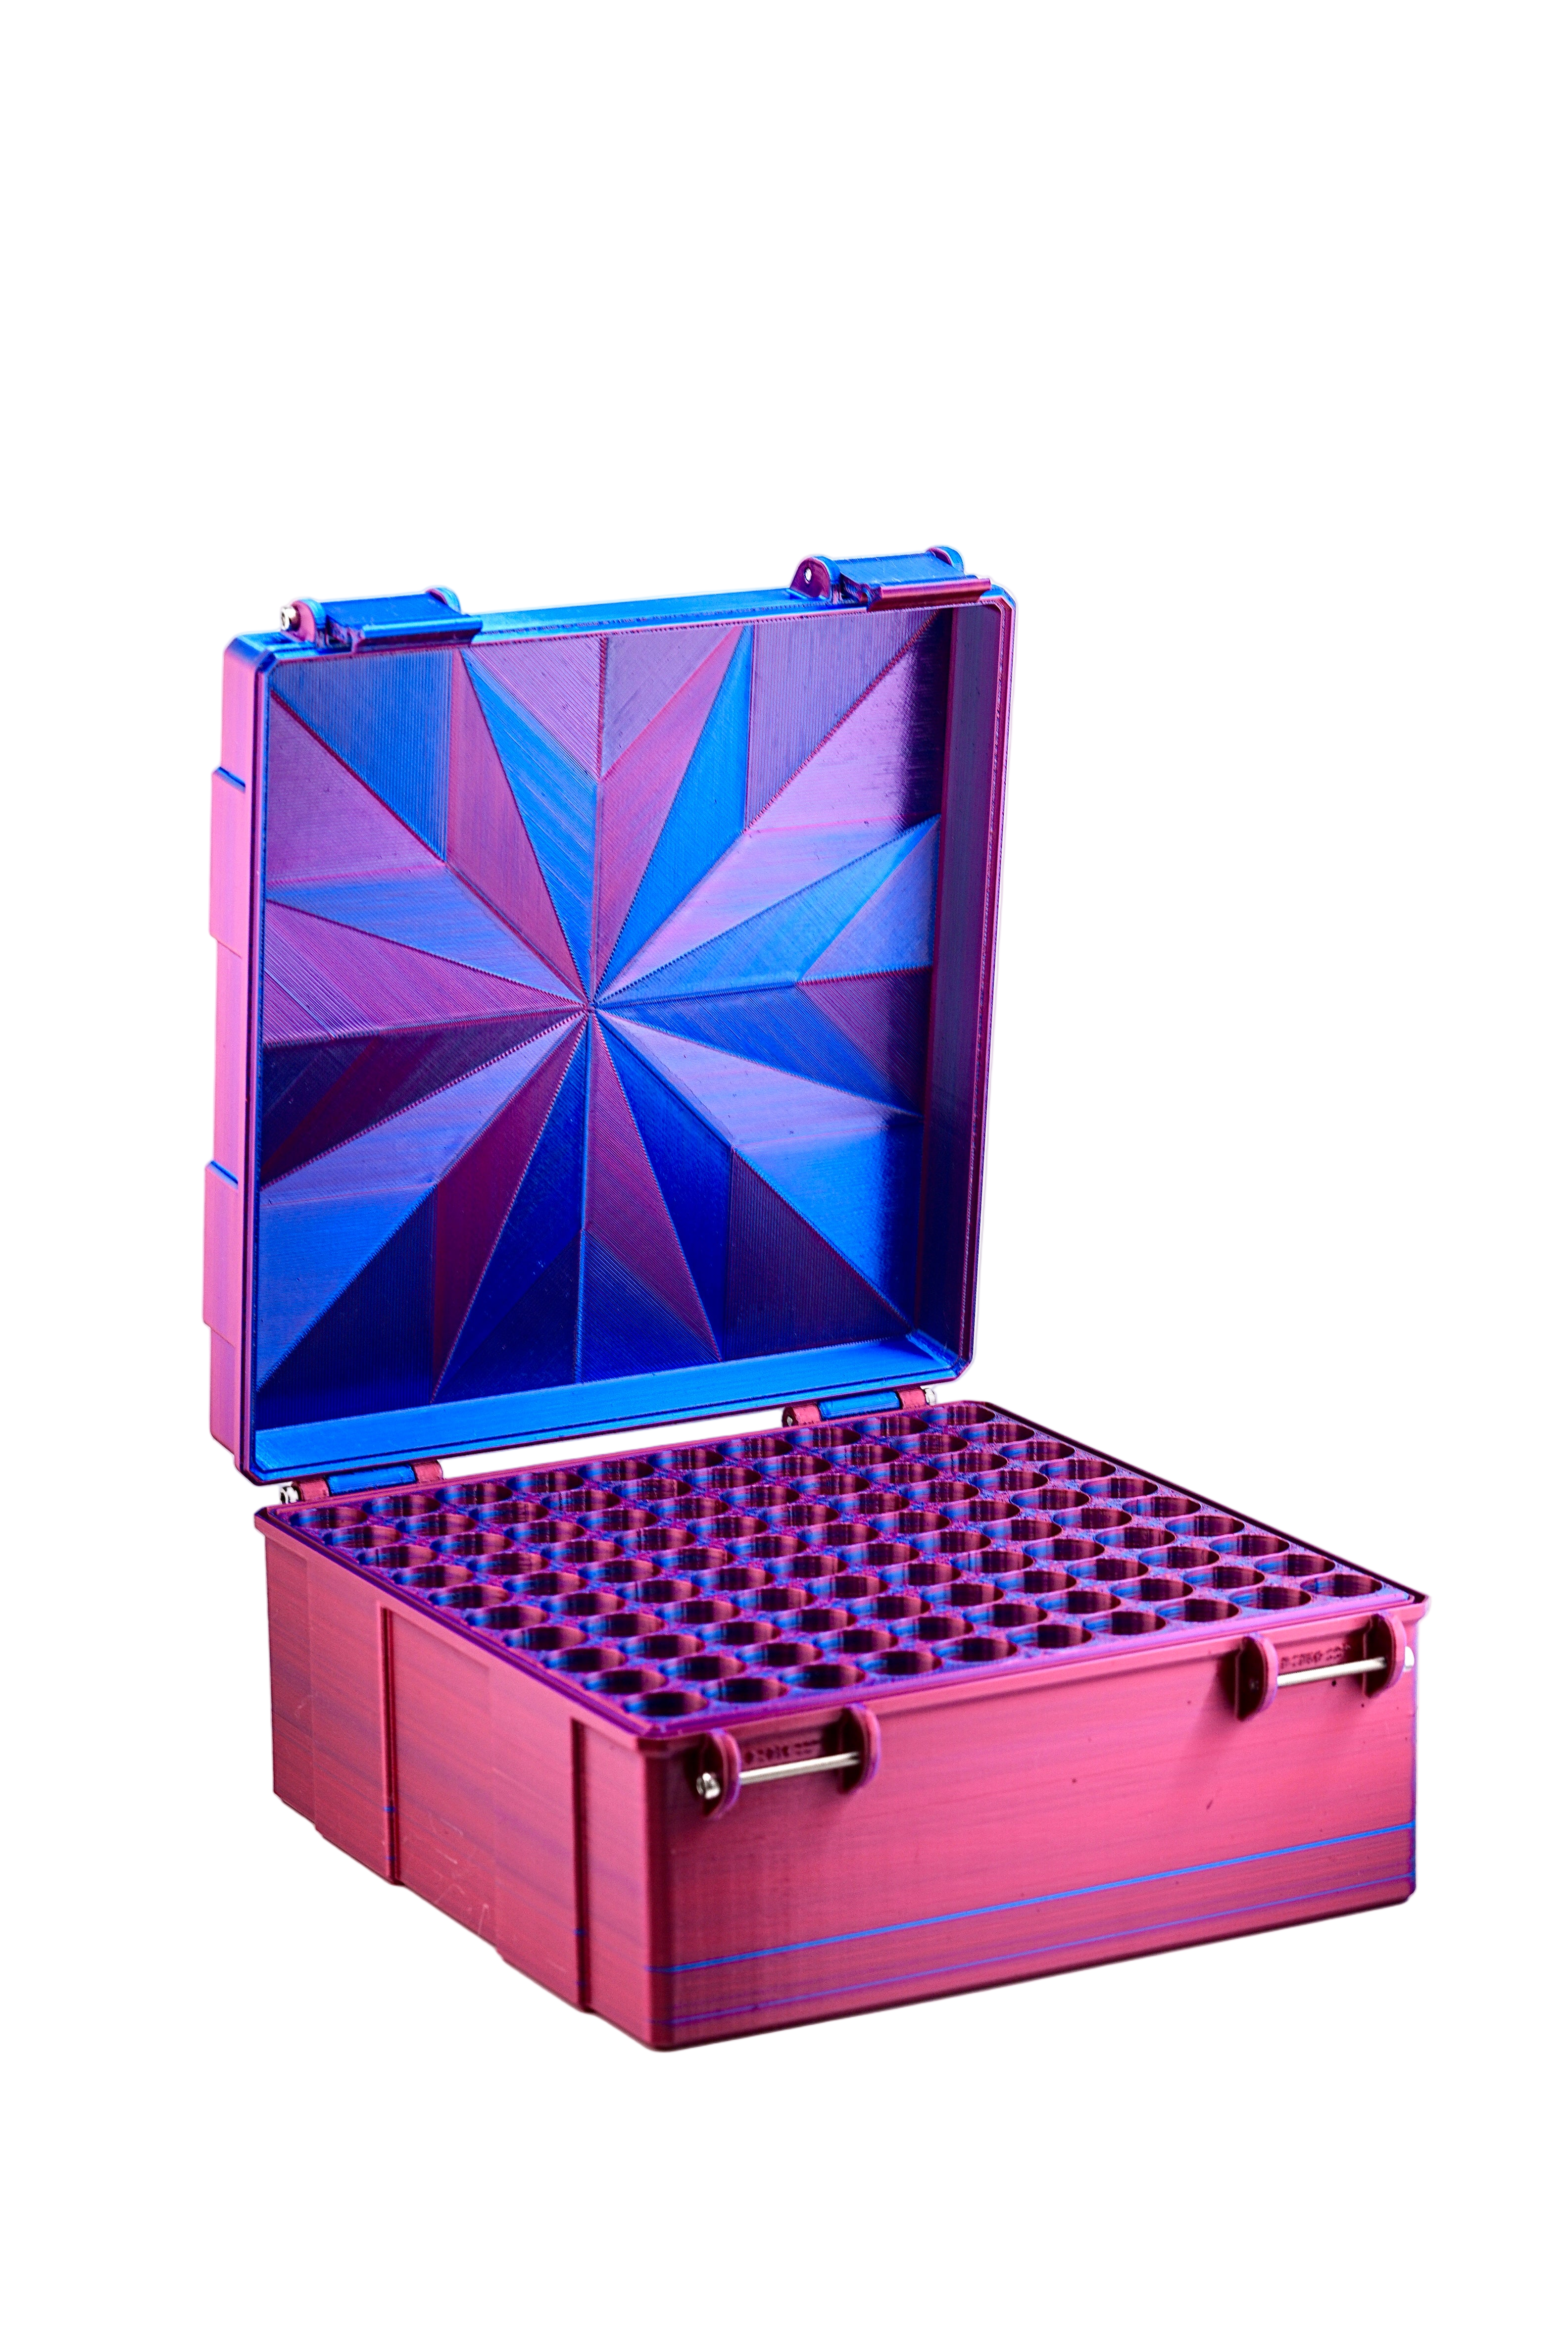
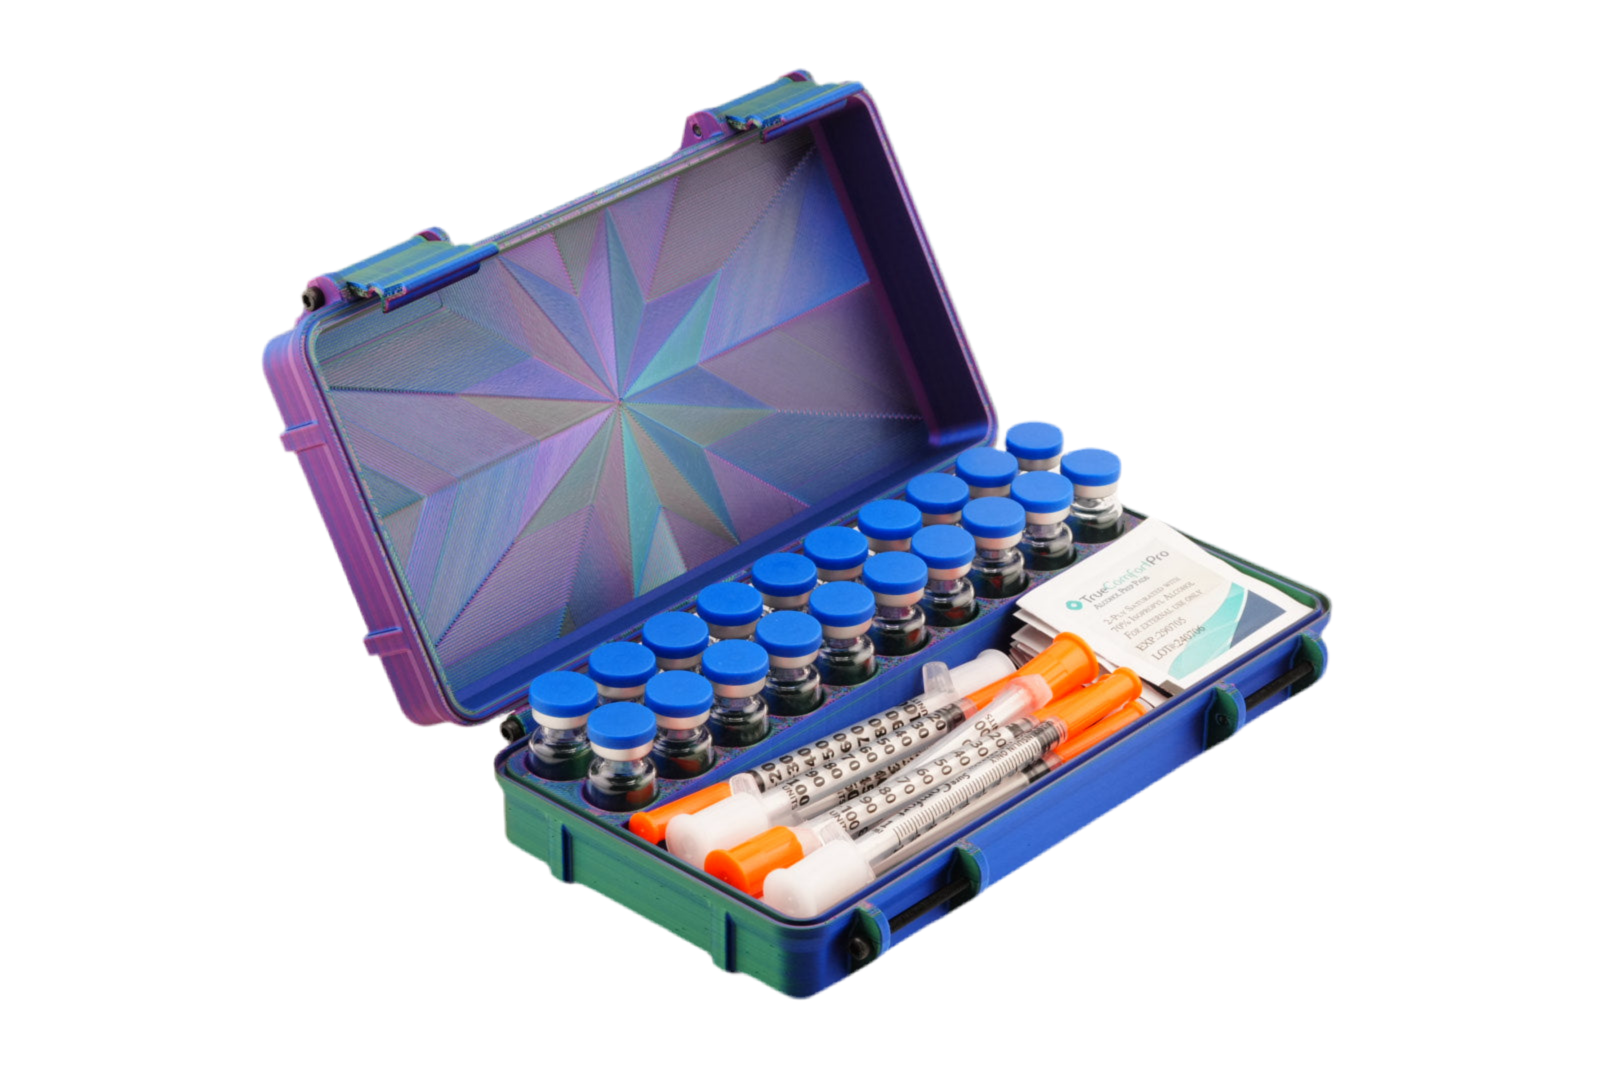
- Opaque storage case: A fully light-blocking peptide case that holds your vials in the fridge. This is the single most important supply after the peptides themselves — light is the #1 cause of potency loss
- Fridge space: Back of a shelf, not the door. Consistent temperature matters
- Labels or marker: Write the reconstitution date on each vial. You need to know when each vial was mixed to track shelf life
Budget Estimate: First peptide + supplies typically runs $100-200 total. The peptide itself is $40-80 per vial. BAC water is $5-10. Syringes are $10-15 per box. A storage case is a one-time purchase that protects every vial you'll ever buy. Don't cheap out on storage to save $30 — one degraded $80 vial costs more than the case.
Your First Reconstitution (Step-by-Step)
This is the moment that intimidates every beginner. It's actually simple once you've done it once:
- Wash hands thoroughly. Hygiene is non-negotiable
- Swab the tops of both your peptide vial and BAC water vial with alcohol pads. Let dry 10 seconds
- Draw BAC water into a 3ml syringe. Standard reconstitution: 1-2ml per peptide vial. Use a consistent amount so dosing math is simple (1ml = easy, 2ml = more doses per vial)
- Inject BAC water slowly into the peptide vial. Aim the stream at the glass wall, not directly at the powder. Let it trickle down
- Swirl gently. Never shake. The powder should dissolve within 1-2 minutes of gentle swirling. If it's taking longer, set it in the fridge and check back in 10 minutes
- Label the vial with today's date. This is your reconstitution date — your countdown to expiration starts now
- Place in your storage case and put it in the back of the fridge
Your First Injection
- Remove the case from the fridge. Take out the vial you need
- Swab the vial top with an alcohol pad
- Draw your dose with an insulin syringe. Pull back the plunger to your dose marking, insert into the vial inverted, push air in, draw liquid out to your dose line. Tap out any air bubbles
- Return the vial to the case immediately. Don't leave it on the counter while you inject. Minimize time outside the dark, cold case
- Swab injection site — abdomen (2 inches from navel) or love handles are standard subcutaneous sites
- Pinch skin, insert needle at 45-90 degrees, inject slowly, hold 5 seconds, withdraw
- Dispose of syringe in sharps container. Never reuse
The Beginner's 12-Week Progression
Here's how to build from one peptide to a full looksmaxing stack over 12 weeks:
Weeks 1-4: Single Compound
- Run your first peptide solo
- Master reconstitution, injection, and storage routine
- Track results with weekly photos (same lighting, same angle)
- Note any side effects and how they resolve
- Storage setup: 1-2 vials in your case
Weeks 5-8: Add Your Second Compound
- Add one more peptide that complements your first (e.g., MT2 → add GHK-Cu, or Retatrutide → add MT2)
- Learn to manage 2-3 vials with different dosing schedules
- Continue tracking results — now you can see what the second compound adds
- Storage setup: 3-4 vials in your case
Weeks 9-12: Build the Full Stack
- Add remaining compounds one at a time
- By now you have the routine dialed — reconstitution, injection, storage are second nature
- Full daily protocol is running smoothly
- Storage setup: 4-6 vials — this is where a multi-slot case becomes essential
The 5 Biggest Beginner Mistakes
- No storage case. Vials sitting loose in the fridge, exposed to light every time the door opens. This is the #1 money-wasting mistake. Your $80 vial loses 15-30% potency from light exposure over 4 weeks. A case pays for itself immediately
- Using sterile water instead of BAC water. Sterile water has no preservative. Your reconstituted peptide becomes a bacteria breeding ground within days. Always use BAC water for any vial you'll use over more than 5 days
- Shaking the vial. Vigorous shaking denatures peptides and introduces oxygen. Always swirl gently. If it doesn't dissolve, give it time in the fridge — not more shaking
- Storing on the fridge door. The door is the warmest, most temperature-variable spot in the fridge. It swings open constantly, exposing vials to room temp air and light. Back of a shelf, always
- Not tracking dates. Without reconstitution dates on your vials, you have no idea if you're injecting a 2-week-old vial or a 6-week-old one. Label everything
The Real Cost of Bad Storage: The average looksmaxer spends $200-400/month on peptides. Losing 20% potency to poor storage is like throwing away $40-80 every month — $480-960 per year. A one-time storage case purchase eliminates this entirely. It's not an accessory. It's the thing that makes everything else in your stack actually work.
When to Upgrade Your Stack
You're ready to add another compound when:
- You've run your current peptide(s) for at least 4 weeks with consistent dosing
- You understand the side effect profile and have managed any that appeared
- Your storage and injection routine is automatic — you don't have to think about it
- You have the budget for additional vials AND proper storage for them
- You have a specific goal the new compound addresses (don't add compounds just because someone on a forum recommended it)
Bottom Line: Starting peptides doesn't have to be overwhelming. Pick one compound, learn the process, get results, then expand. The looksmaxers with the best results aren't the ones running the most compounds — they're the ones running consistent, properly stored protocols with compounds they actually understand. Start simple. Store it right. Build from there.
"First time doing peptides. The case made me feel way more organized and less sketchy about having vials in my fridge. Looks clean."
— Matt G., Verified Buyer
Shop PeptideCase →Disclaimer: This content is for informational and educational purposes only. It is not medical advice and does not constitute a doctor-patient relationship. Peptides discussed are research compounds — consult a licensed healthcare provider before use. PeptideCase sells storage products only and does not sell, manufacture, or distribute peptides or pharmaceuticals.